"

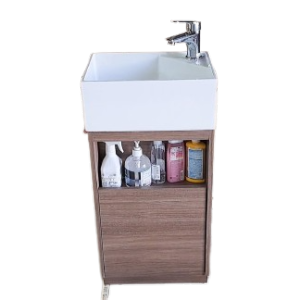
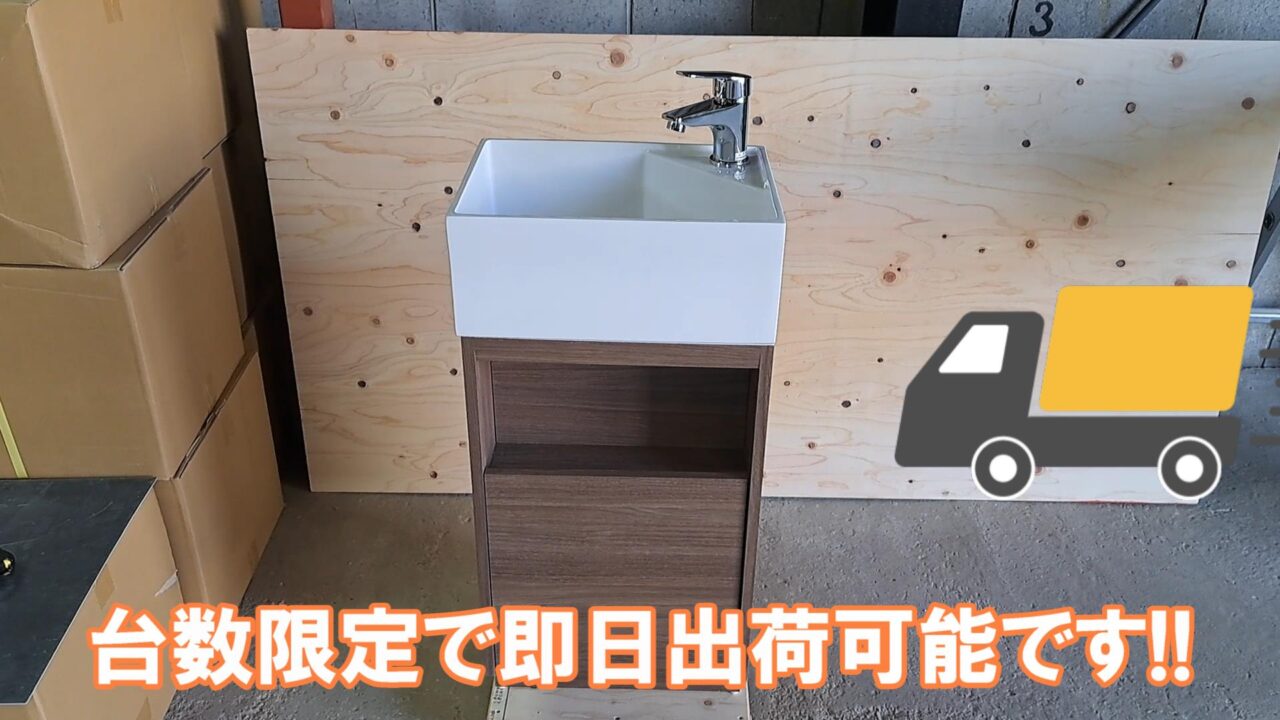
当店ECサイトにて販売している「おしゃれな小さい洗面台」を仕入れましたのでご紹介します↓
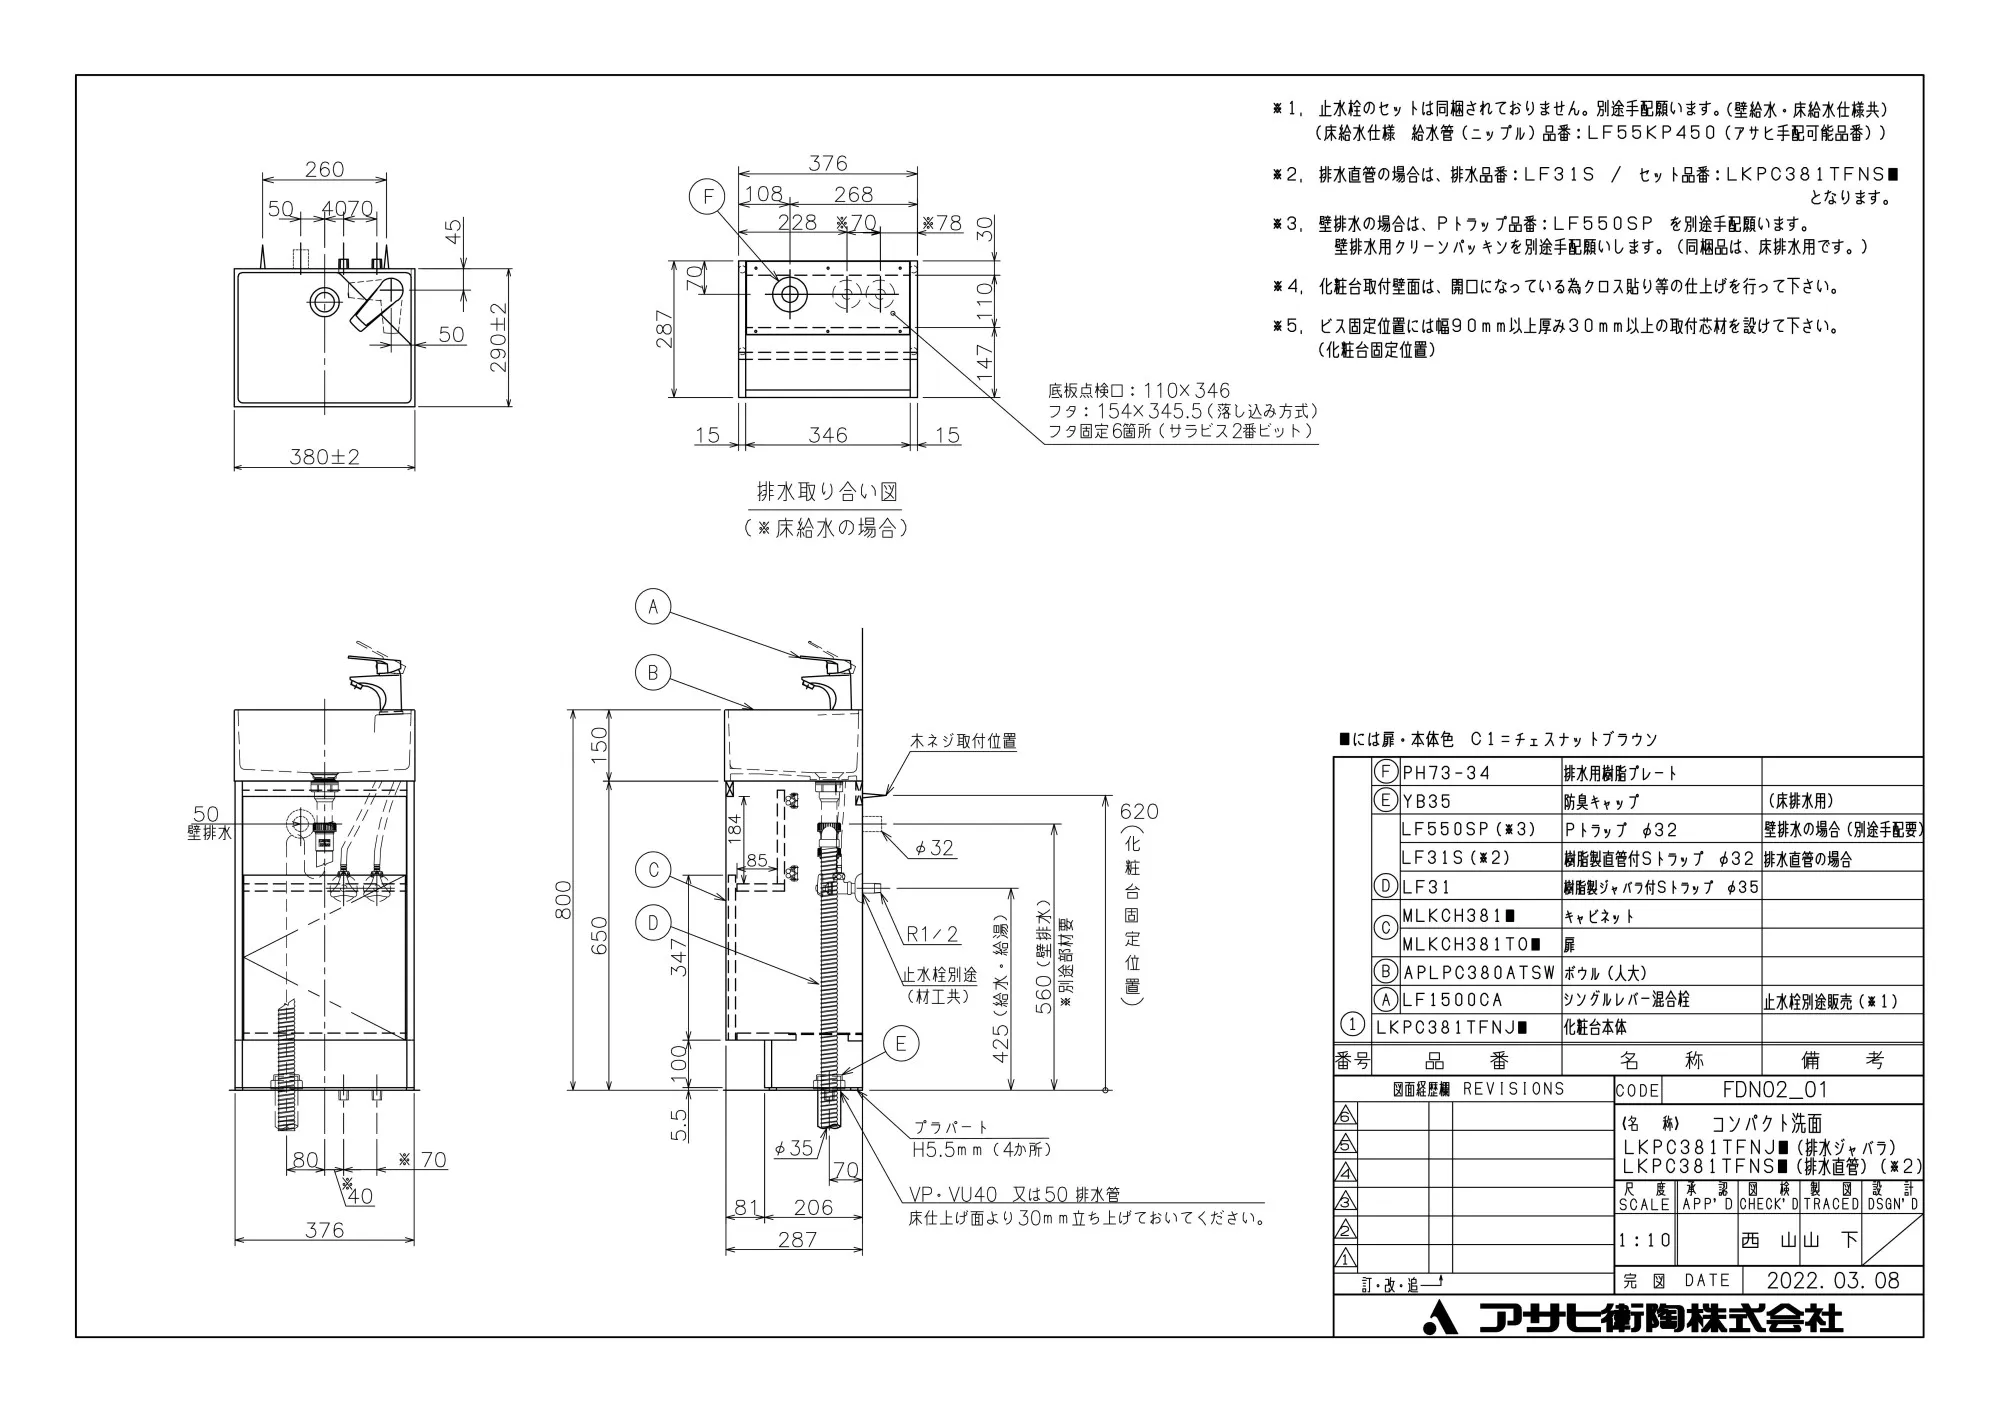
アサヒ衛陶の「コンパクト洗面台」と言う洗面台になります。
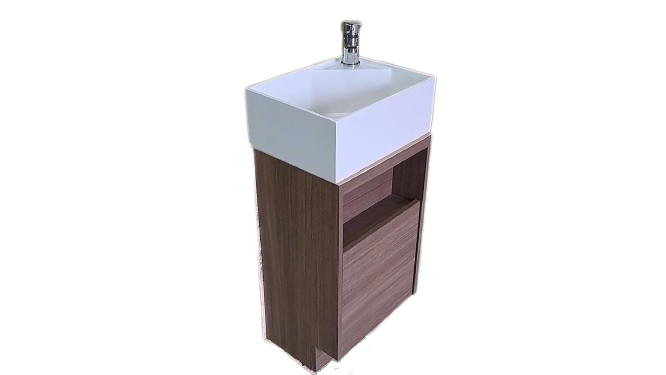

コンパクトで木目が素敵な小さい洗面台だね~

そうなんです!!
玄関手洗いにピッタリな小さい洗面台です 下記にて特長をご紹介します↓
こちらの『コンパクト手洗器』もおススメです!!
商品について
コンパクト洗面台 | |
|---|---|
| メーカー | アサヒ衛陶 |
| 商品名 | コンパクト洗面台 |
| 品番 | LKPC381TFNJC1 |
| 大きさ(mm) | 下台-幅380奥行290高さ800※詳細は図面をご確認下さい。 |
| 扉カラー | C1:チェスナットブラウン |
| 洗面ボウル材質 | 人工大理石製 |
| 本体 | 木組構造(パーティクルボード・MDF・合板)F☆☆☆☆ 底板点検口仕様 |
| 扉 | 低圧メラミン化粧板 |
| 収納タイプ | 上下2段:上段/オープン収納 下段/開き扉収納 |
| 水栓 | シングルレバー混合栓 ※一般地仕様になっております。 ※ホース引出式ではありません。固定になります。 |
| 排水管 | ジャバラ式床排水※床排水のみ |
| 保証について | 洗面台・水栓:2年 |
| 図面について | 図面はこちら |
| 商品ページ | 商品ページはこちら |
特長
大きさ
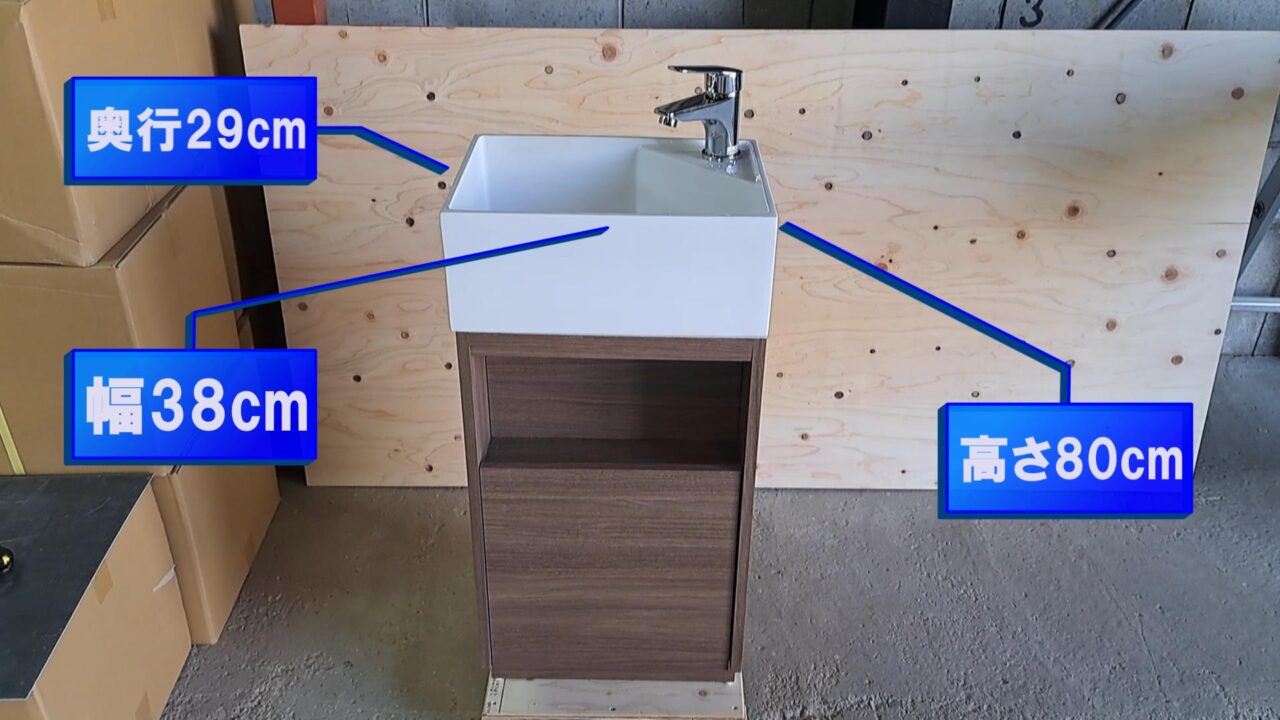
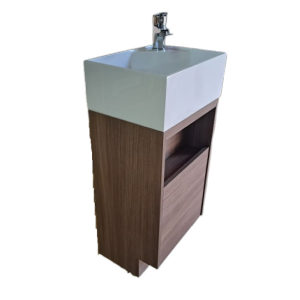
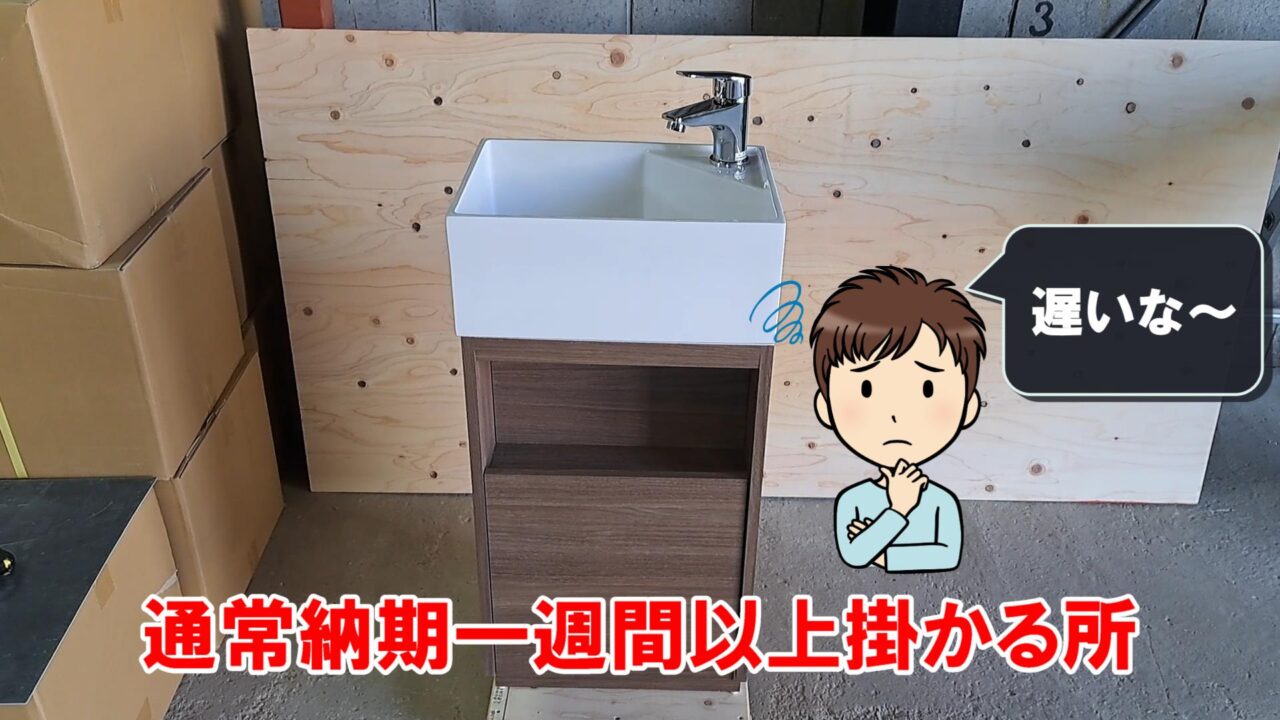
コンパクトサイズ W38×D29×H80(cm)のコンパクトサイズなので玄関・廊下・トイレ・階段横、2階などちょっとしたスペースなどに置ける洗面台として最適な商品です。
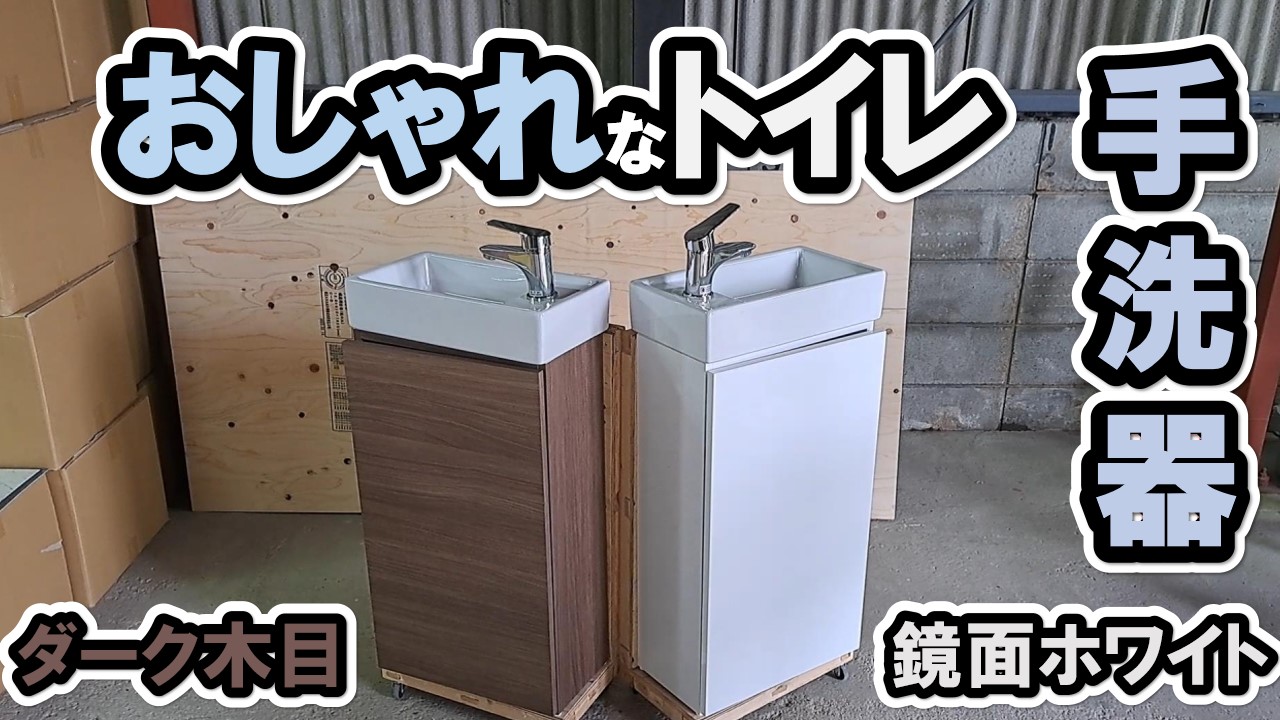
扉カラー
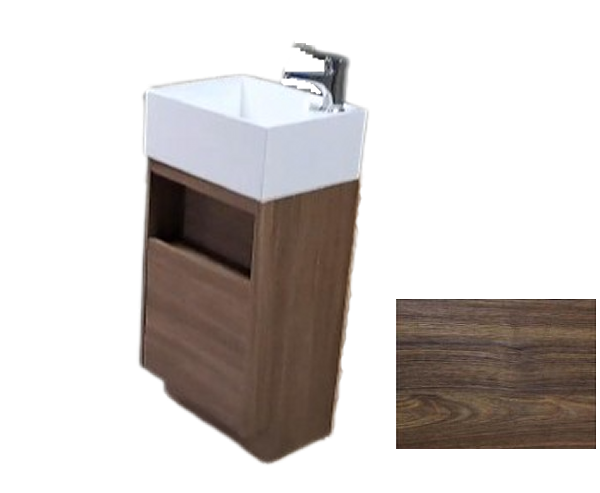
C1チェスナットブラウン:横木目柄のダークブラウンになります。
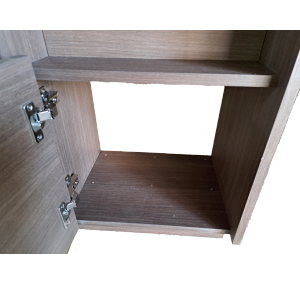
キャビネット側面・内側も木目になっていますので、デザインにこだわった洗面台です。
側面 上段収納 内側

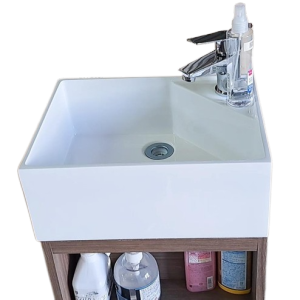
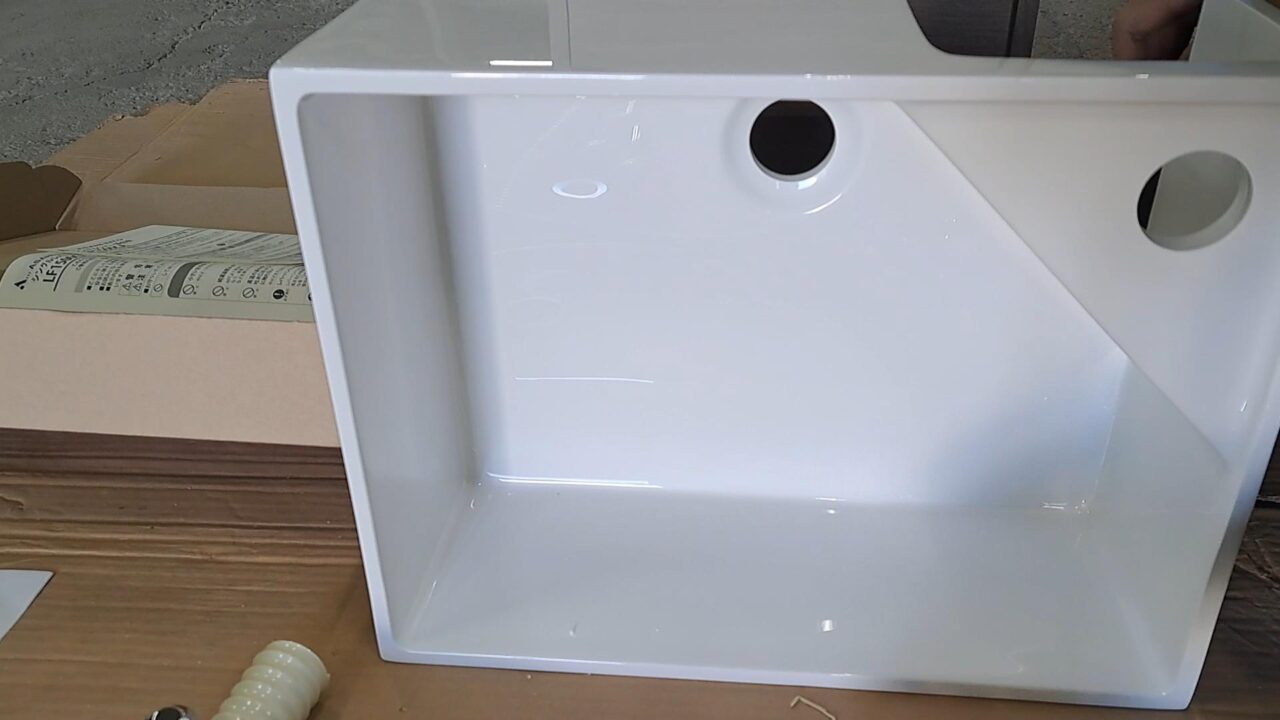
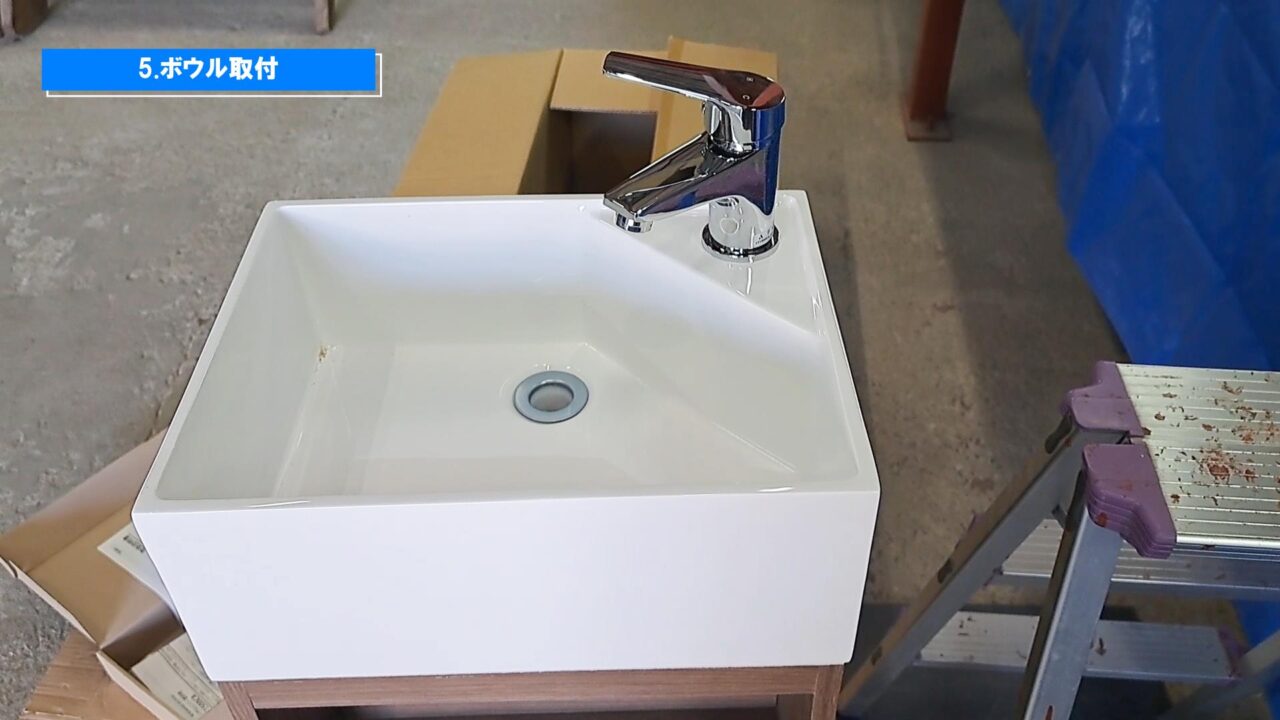
手洗いボウル
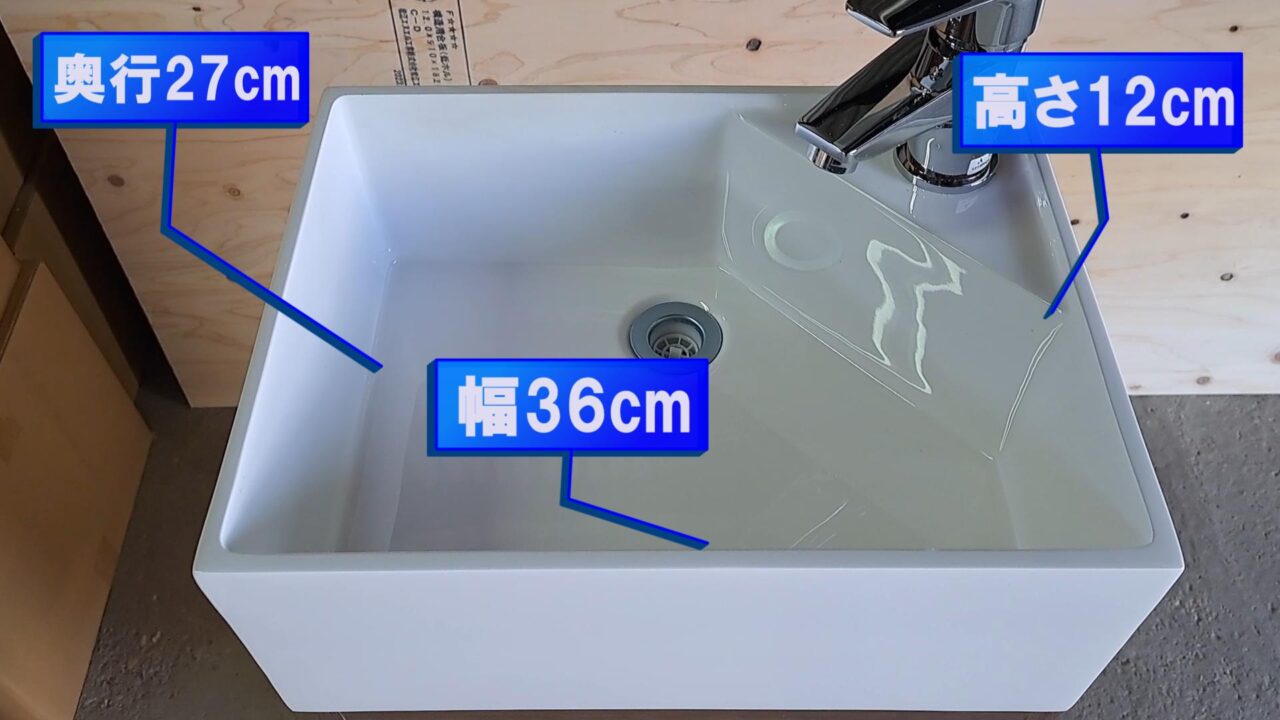
手洗いボウルは人工大理石製になり、手洗い部分の大きさは内寸で 幅36×D27×H12(cm)です。水栓はシングルレバー混合栓になります。
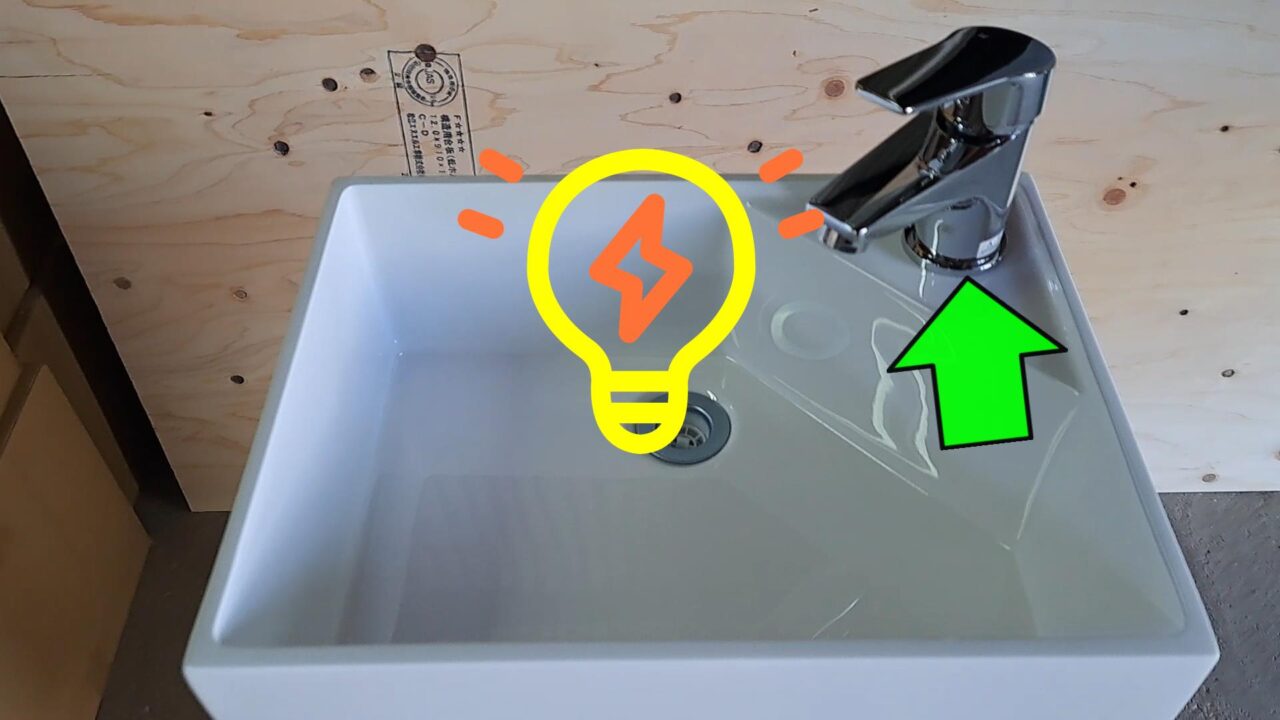
奥行が29cmのコンパクトサイズですが、水栓が45°の位置に斜めに付いている事で生まれるメリットがあります。

そのメリットとは、この様に手洗いがしやすくなります。

深さが12cmあるので、小さいバケツならこの様に入ります。 ※バケツのサイズは直径24×高さ16(cm)です。
ちょっとした拭き掃除などで、バケツに水を汲みたい場合に便利ですね!!
キャビネット
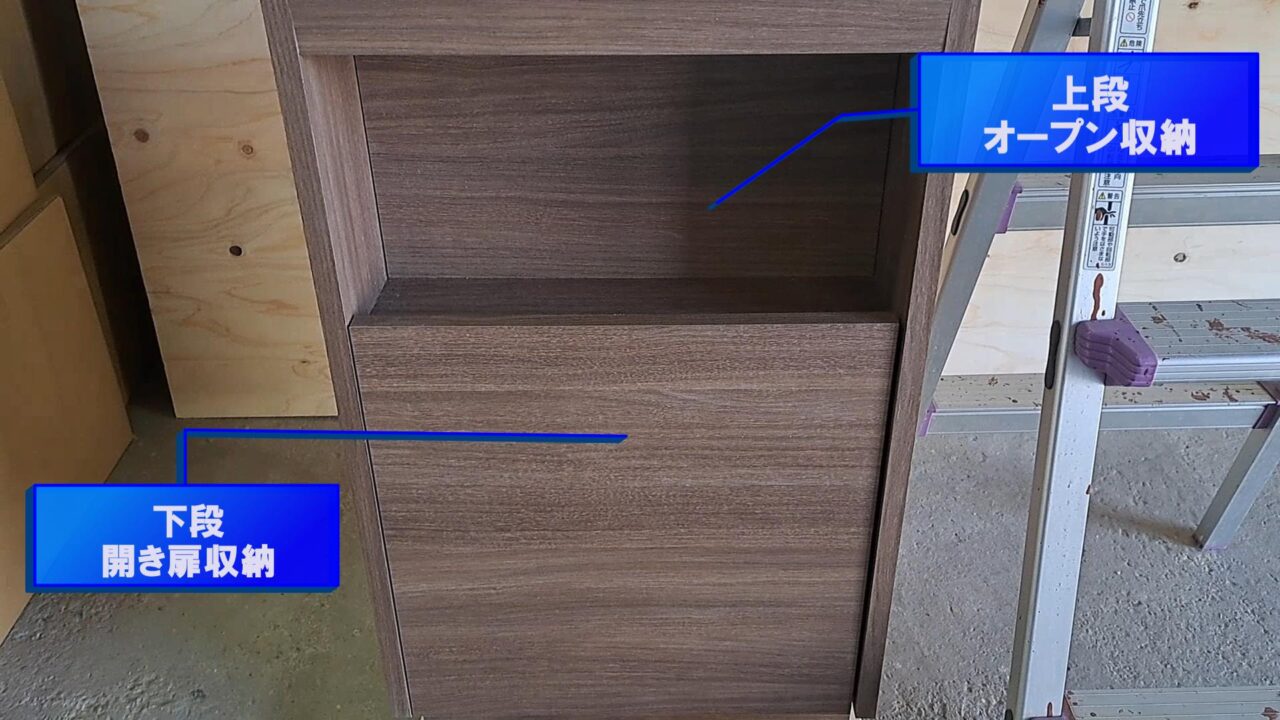
キャビネットですが、上下2段で収納が分かれています。
上段が、オープン収納と下段が開き扉になります。
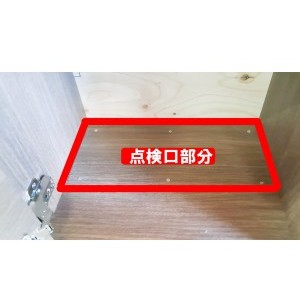
底面ですが、底板がビス止めされていて点検口なっています。ビスを外して底板をスライドさせれば、簡単に取る事が出来ます。床給排水時に便利な仕様になります。


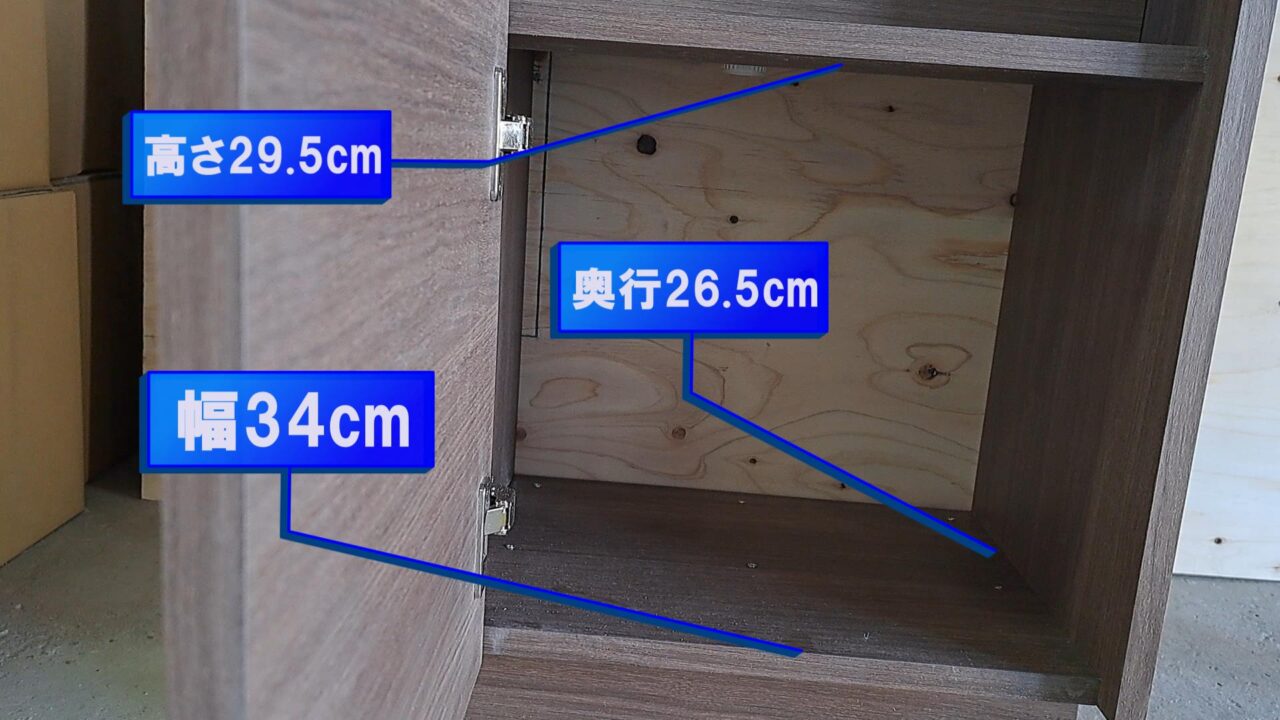
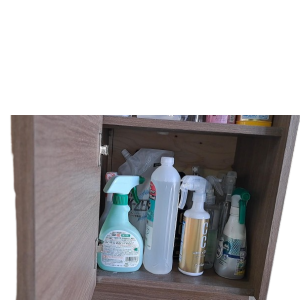
ボトルを給排水を考慮して、下段に13本収納する事が出来ました。上段は5本収納する事が出来ました。
ボウルにも小さいサイズのボトルならこの様に置けるスペースがあります。
オープン収納はよく使う小物などをサッと取り出せるので便利ですね!
給排水について
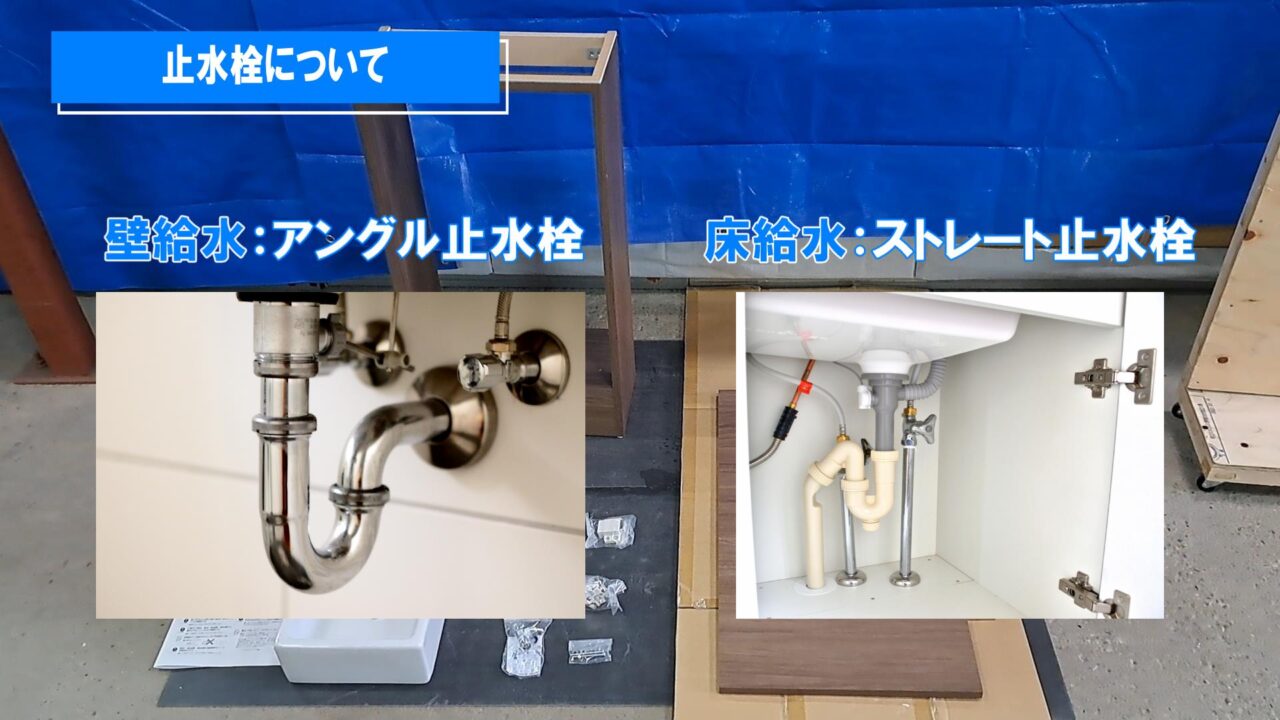
止水栓はありませんので、給水の位置により壁給水の場合はアングル止水栓・床給水の場合はストレート止水栓が必要になります。
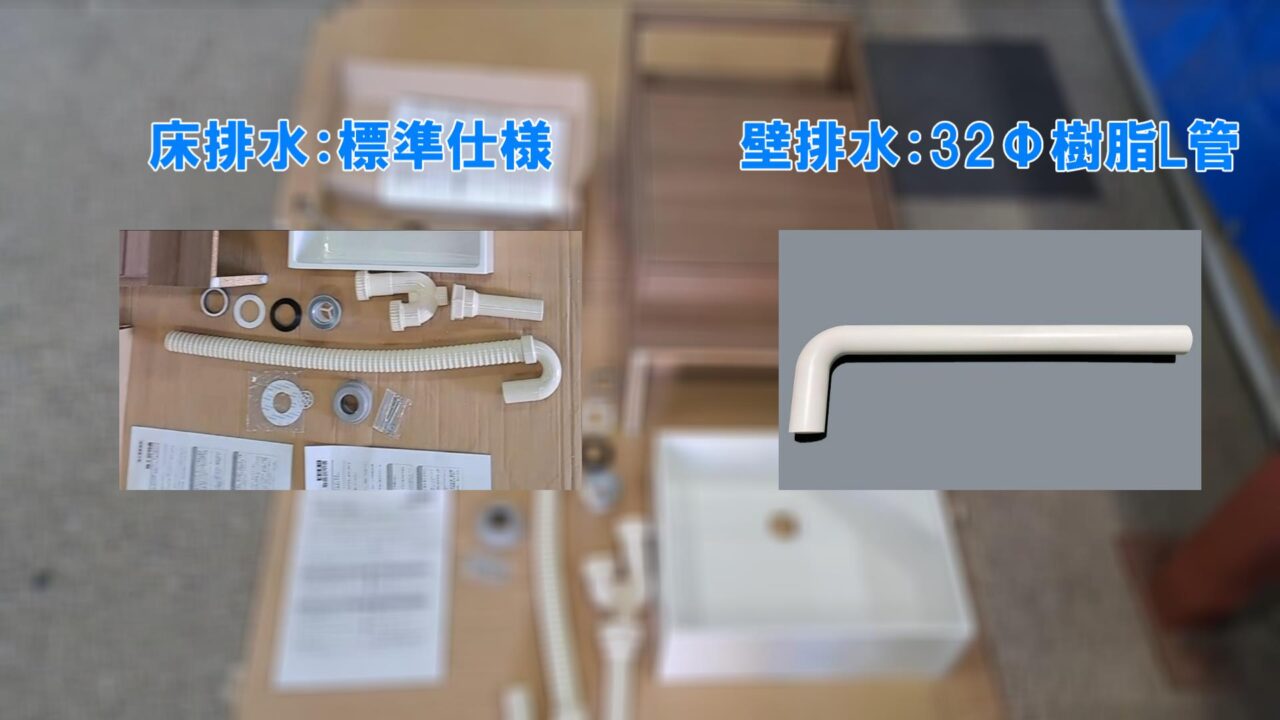
排水は標準仕様は床排水になります。壁排水の場合は32Φで樹脂L管を用意すれば対応可能です。
取付方法
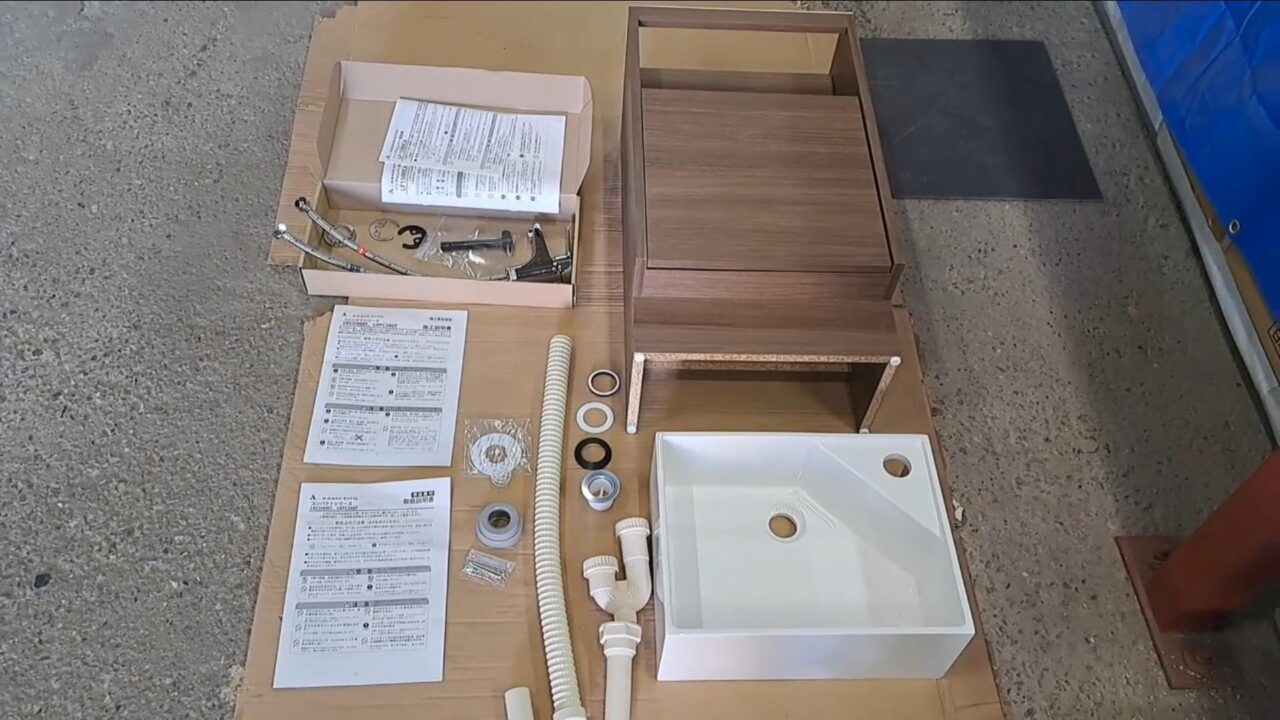
セット内容
1.キャビネット
2.ボウル
3.水栓金具
4.排水金具
5.防臭キャップ
6.排水プレート
7.壁固定ねじ
8.取扱説明書
9.施工説明書 が入っています。
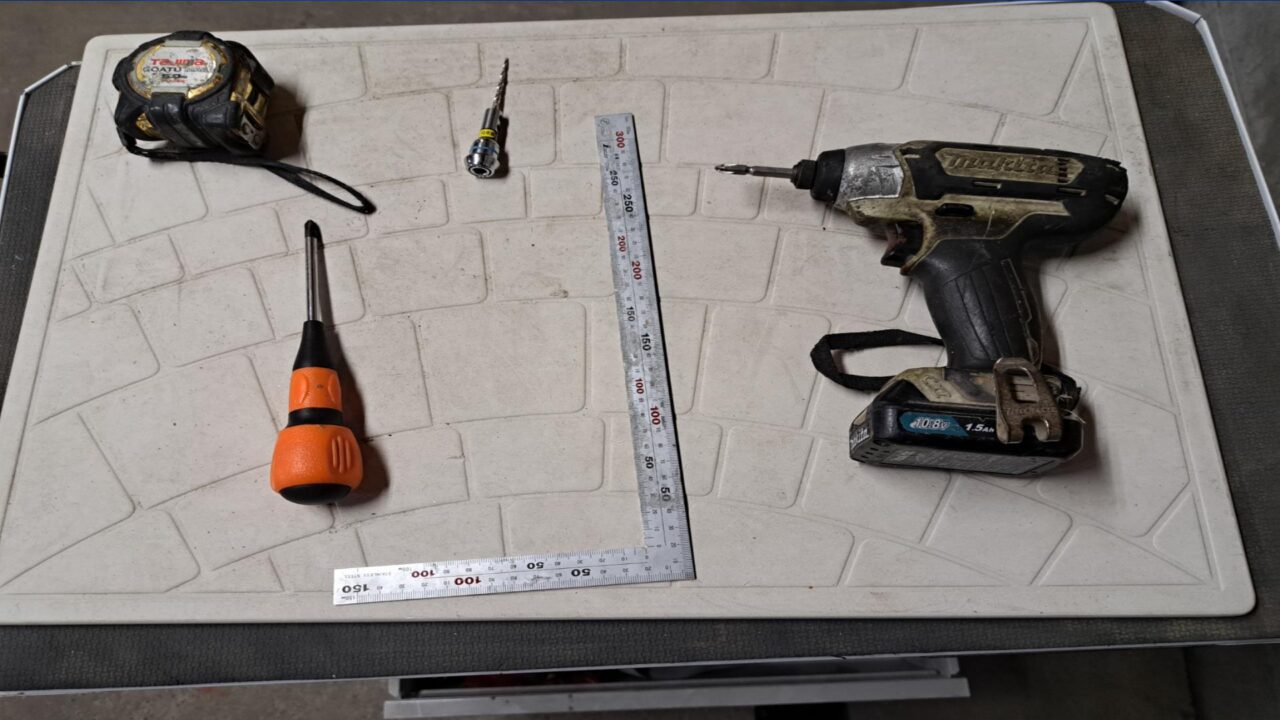
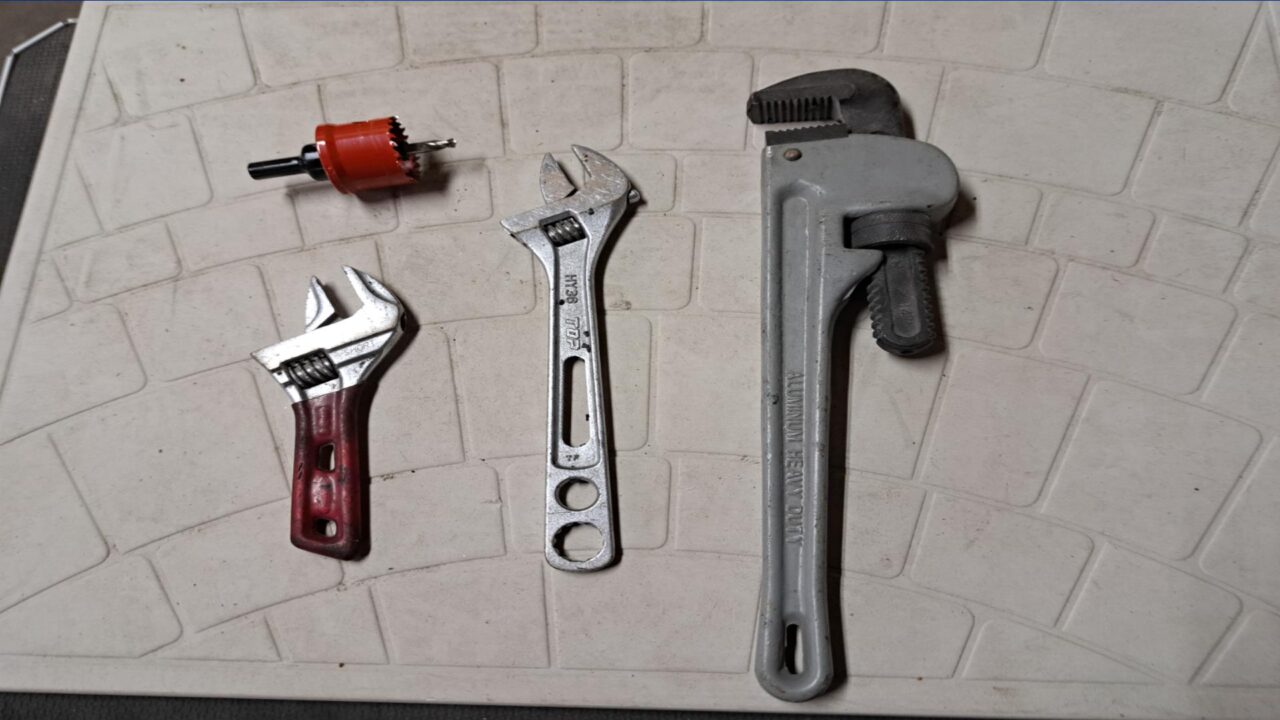
取付に必要な工具
1.インパクトドライバー
2.プラスドライバー
※2番(100mm)が必要
3.下穴錐(3㎜を使用しました。) 4.ホルソー:給水・給湯穴(Φ30 ~ 40)、排水穴(Φ45 ~ 60) 5.モンキーレンチ×2本
6.パイプレンチ が必要です。
取付手順
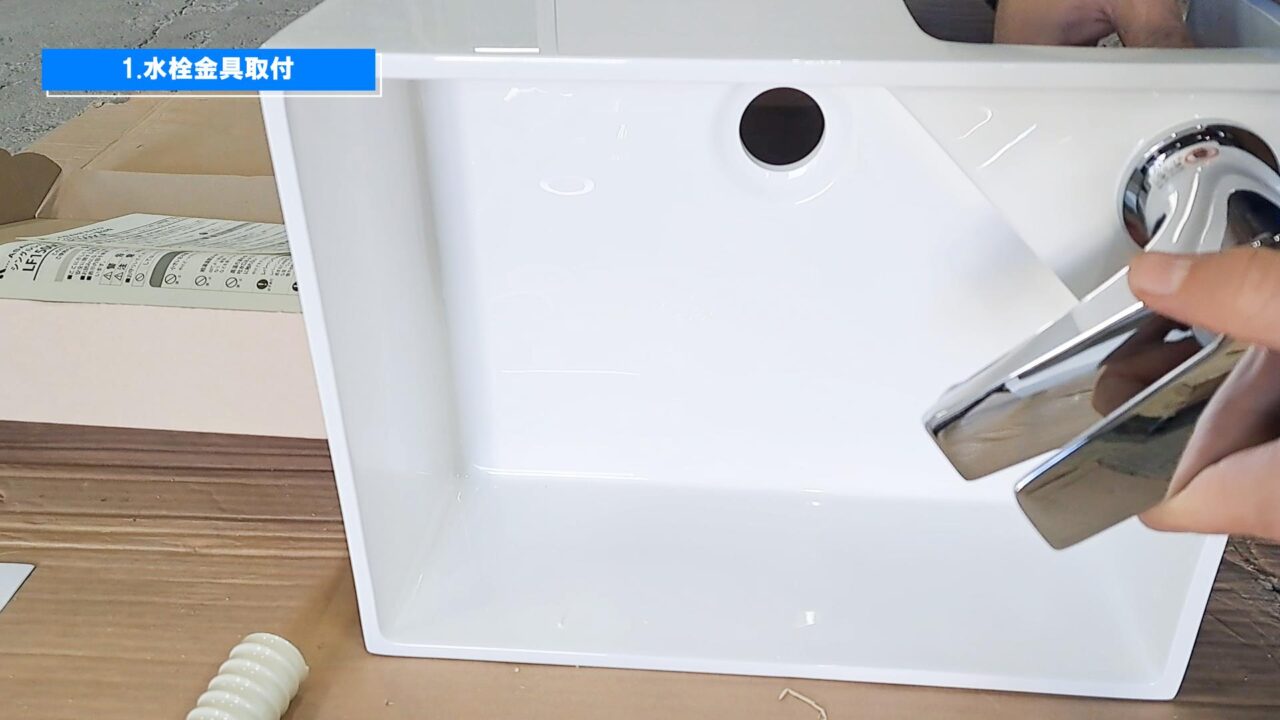
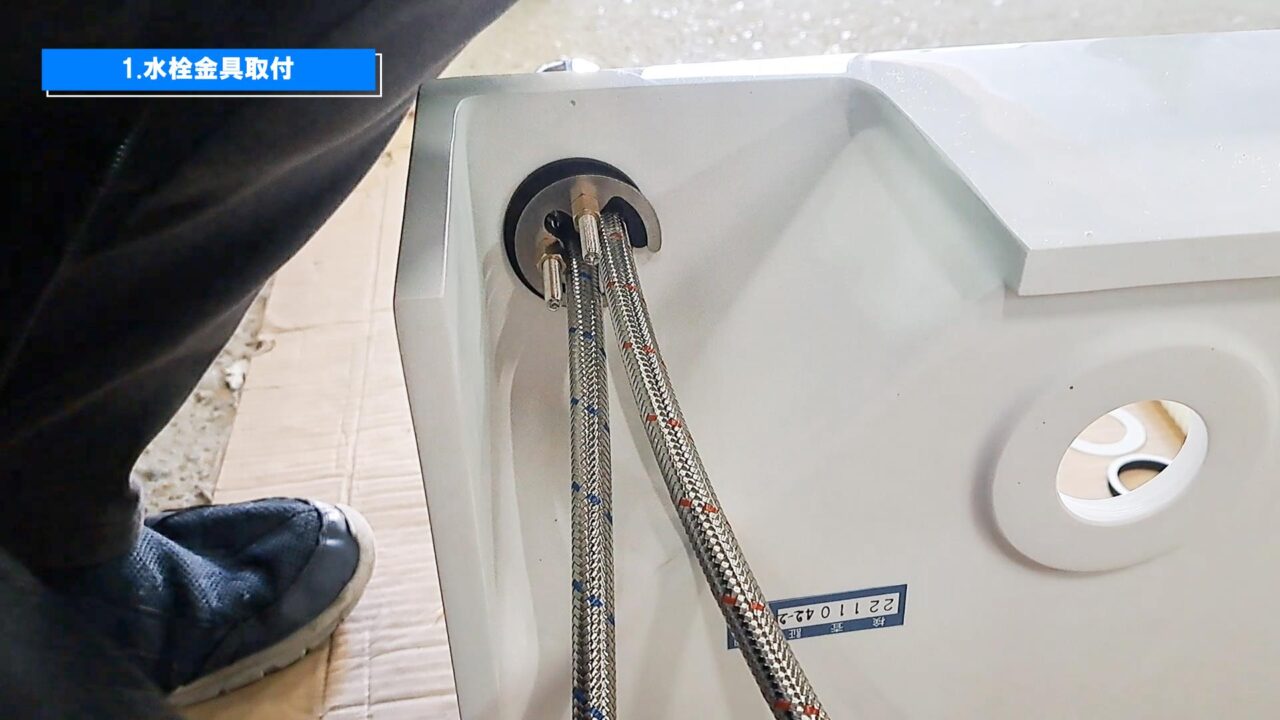
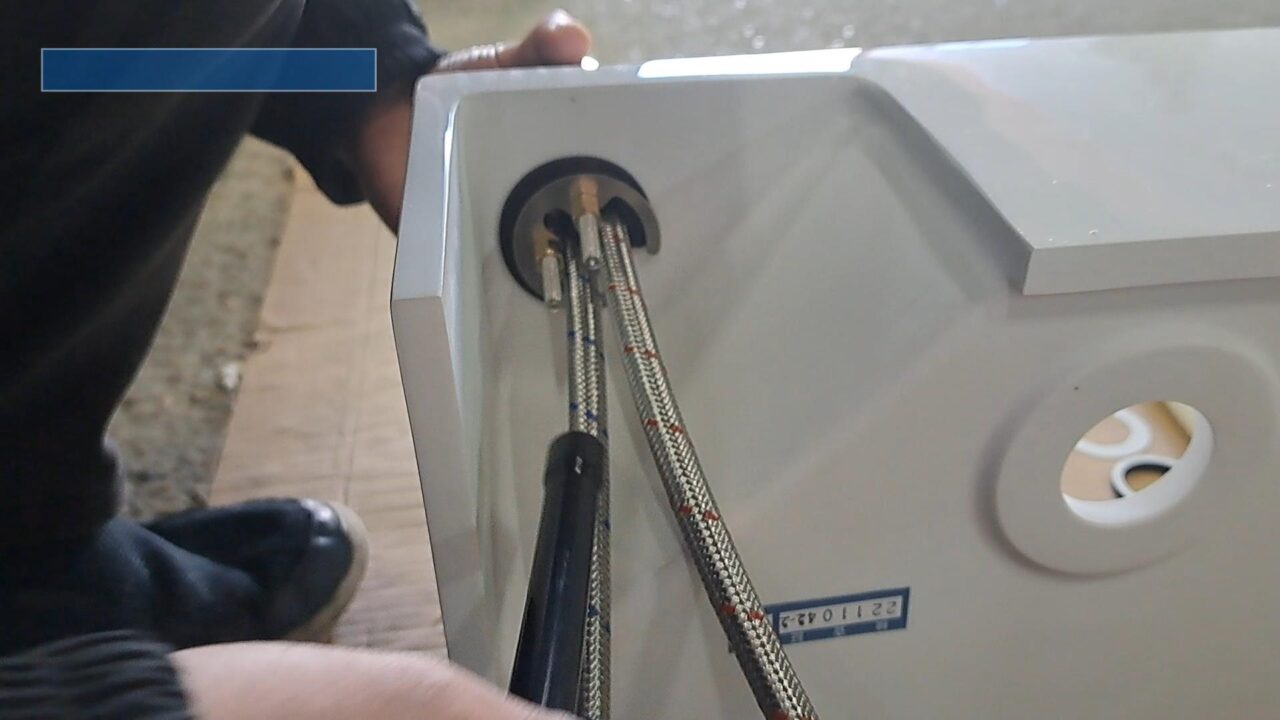
1.水栓金具取付
ボウルに水栓金具を取付していきます。

使用する部品は上から台座・ゴムパッキン・ワッシャーになります。
水栓取付手順
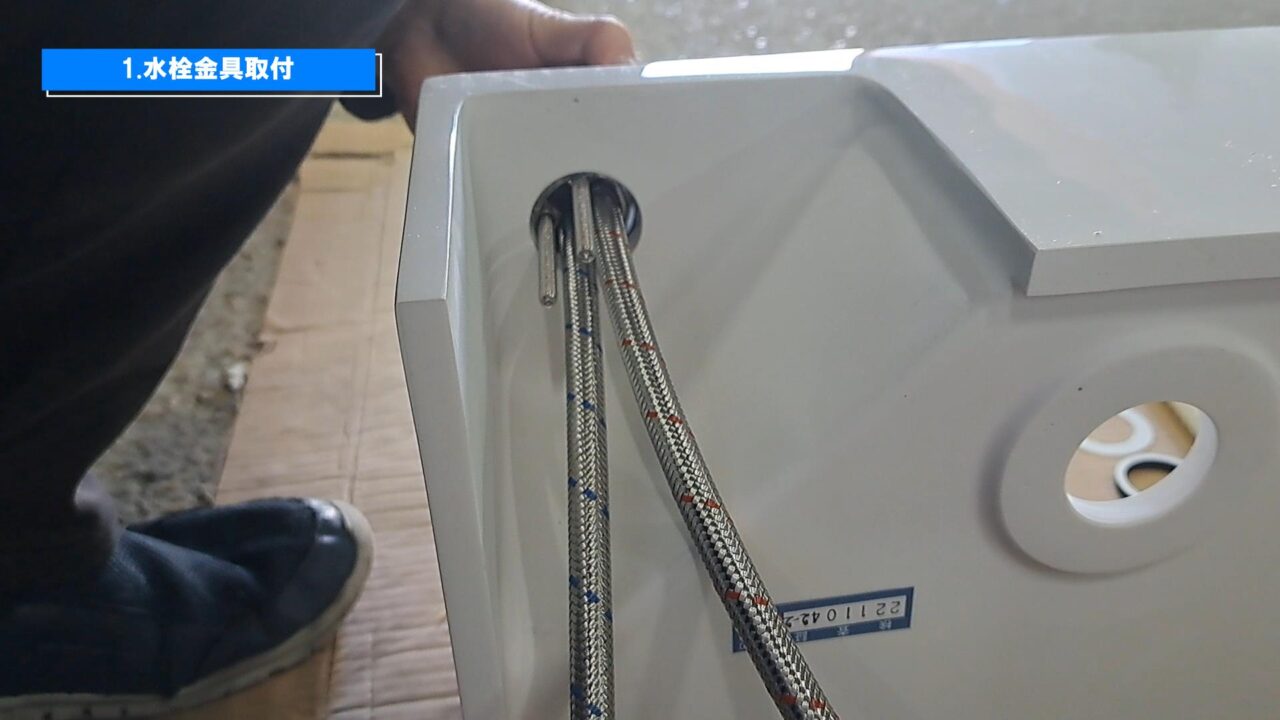
手締めである程度締めたら、ナット締め付け工具を使用して、ナットを締めます。
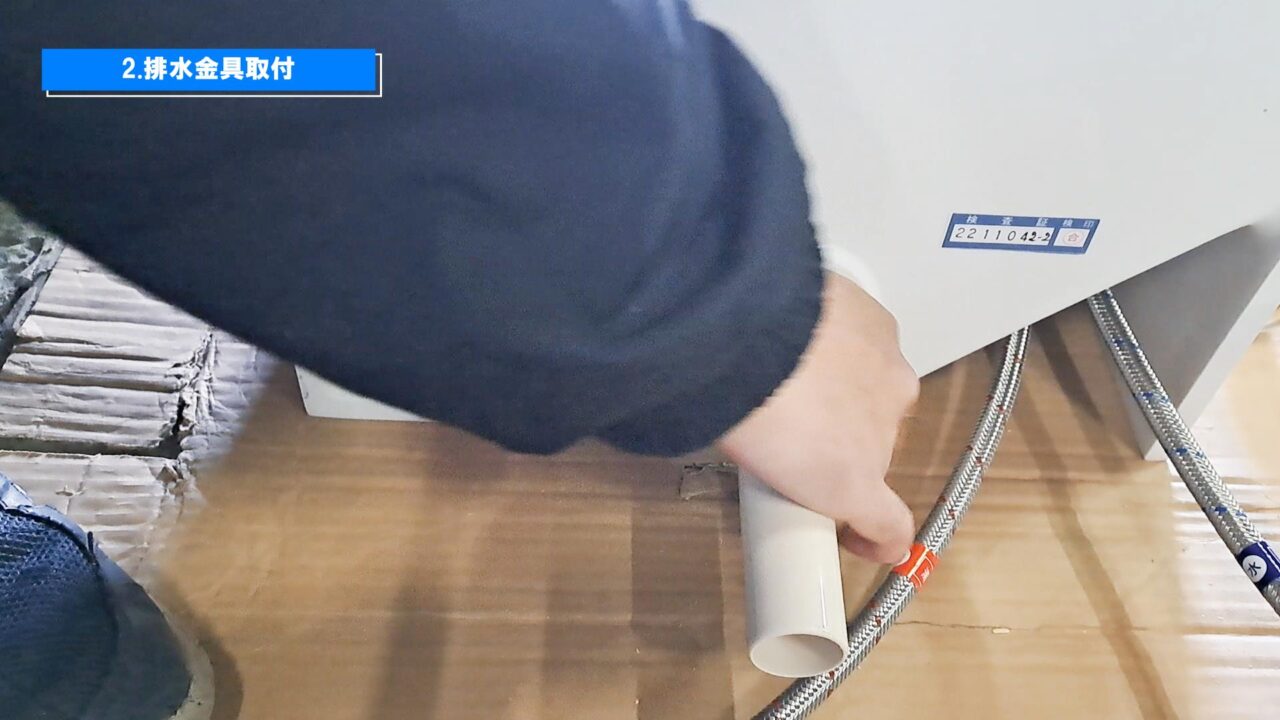
2.排水金具取付
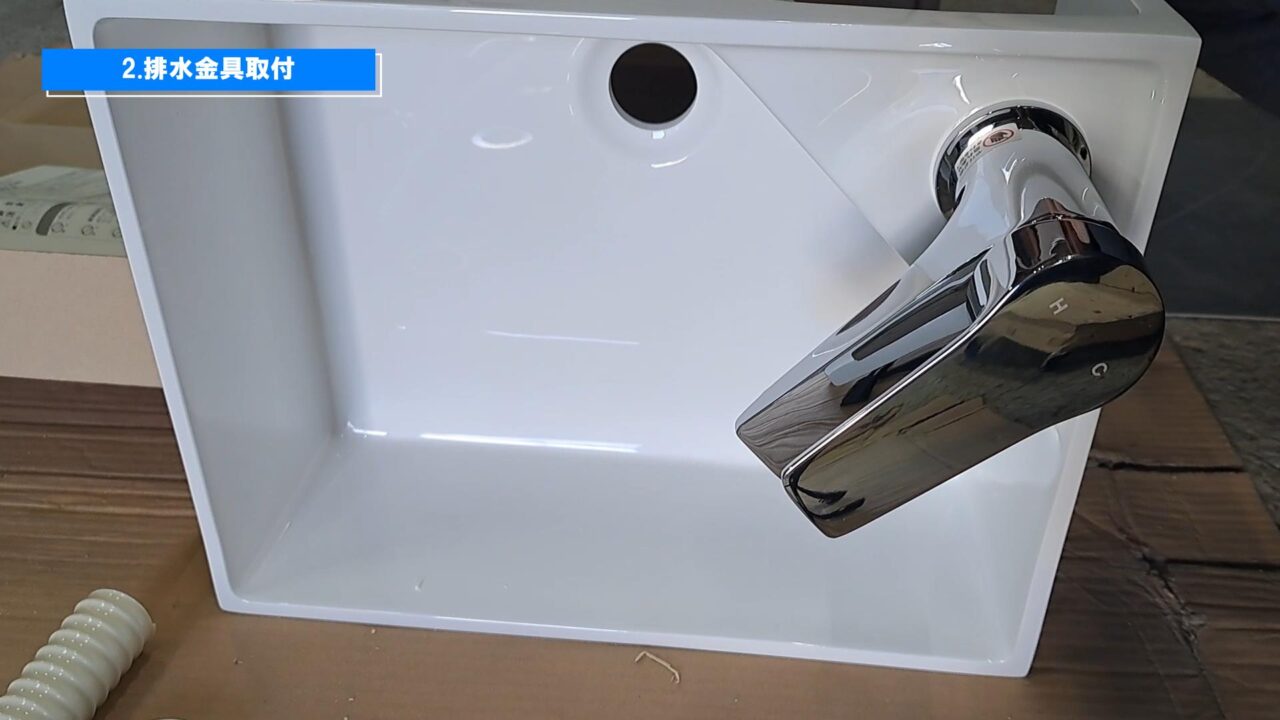
ボウルに排水金具を取付していきます。
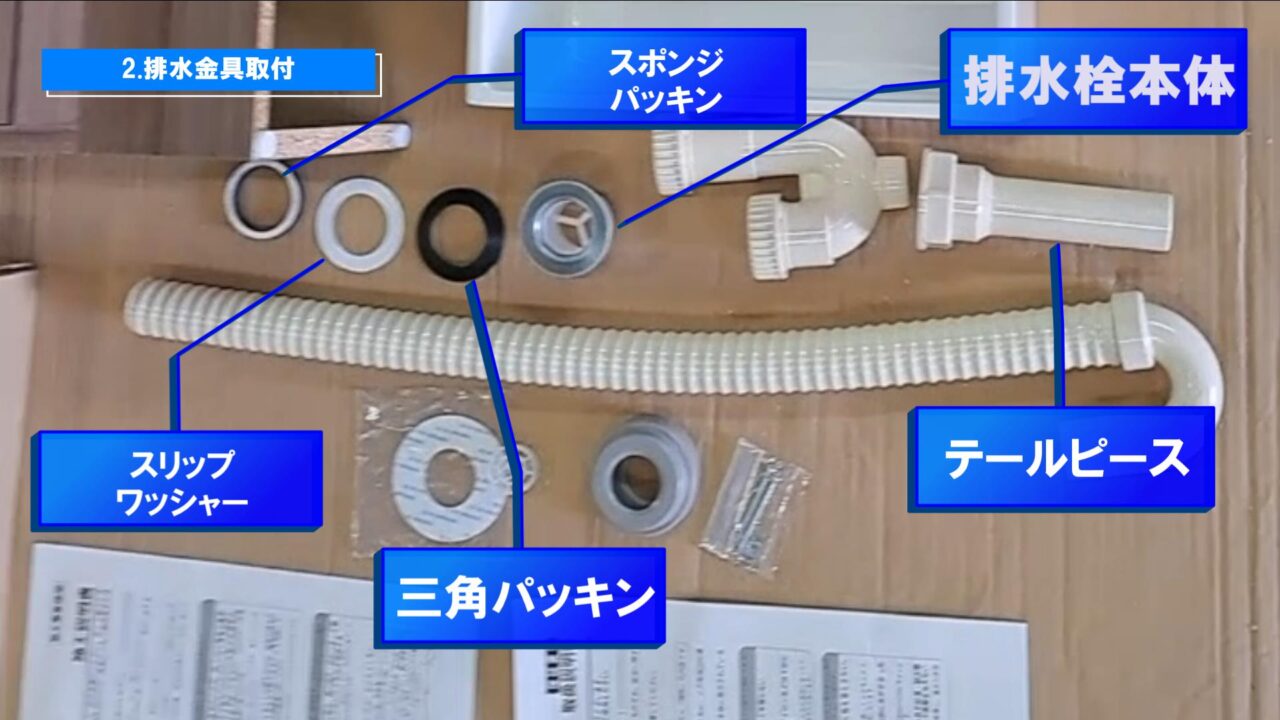
使用する部品は、テールピース・スリップワッシャー・三角パッキン・スポンジパッキン・排水栓本体になります。
排水金具取付手順
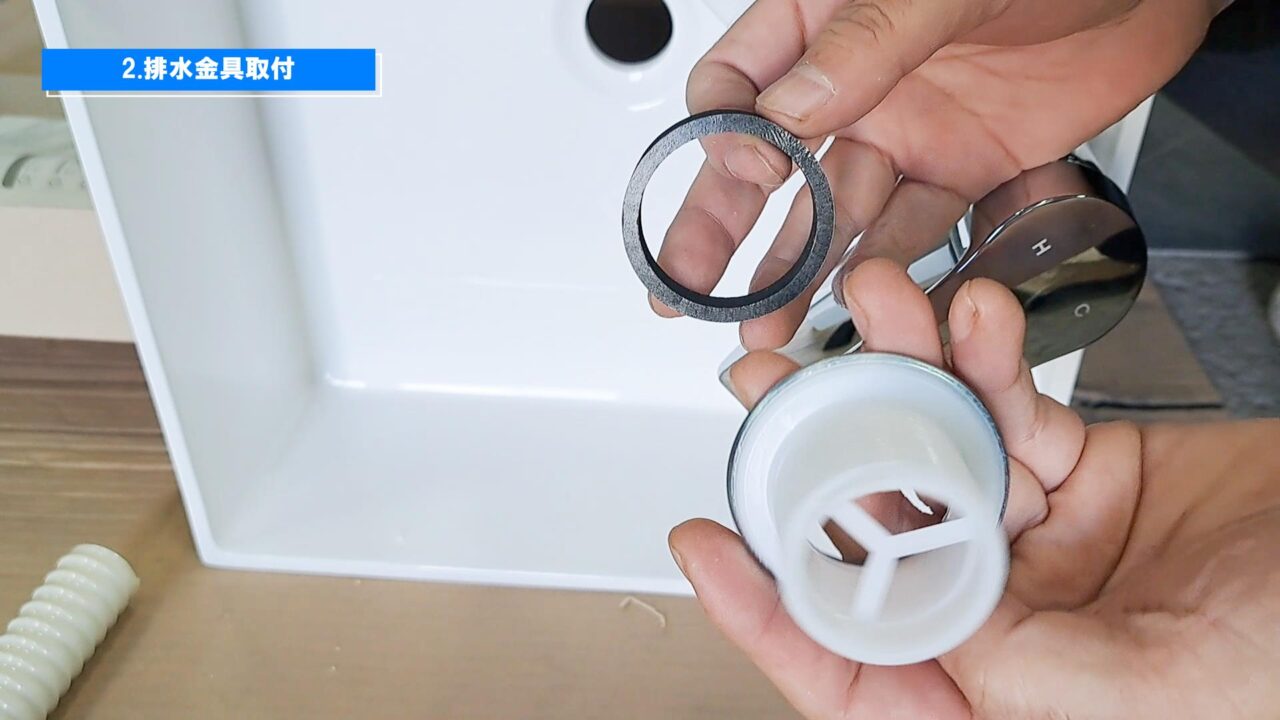

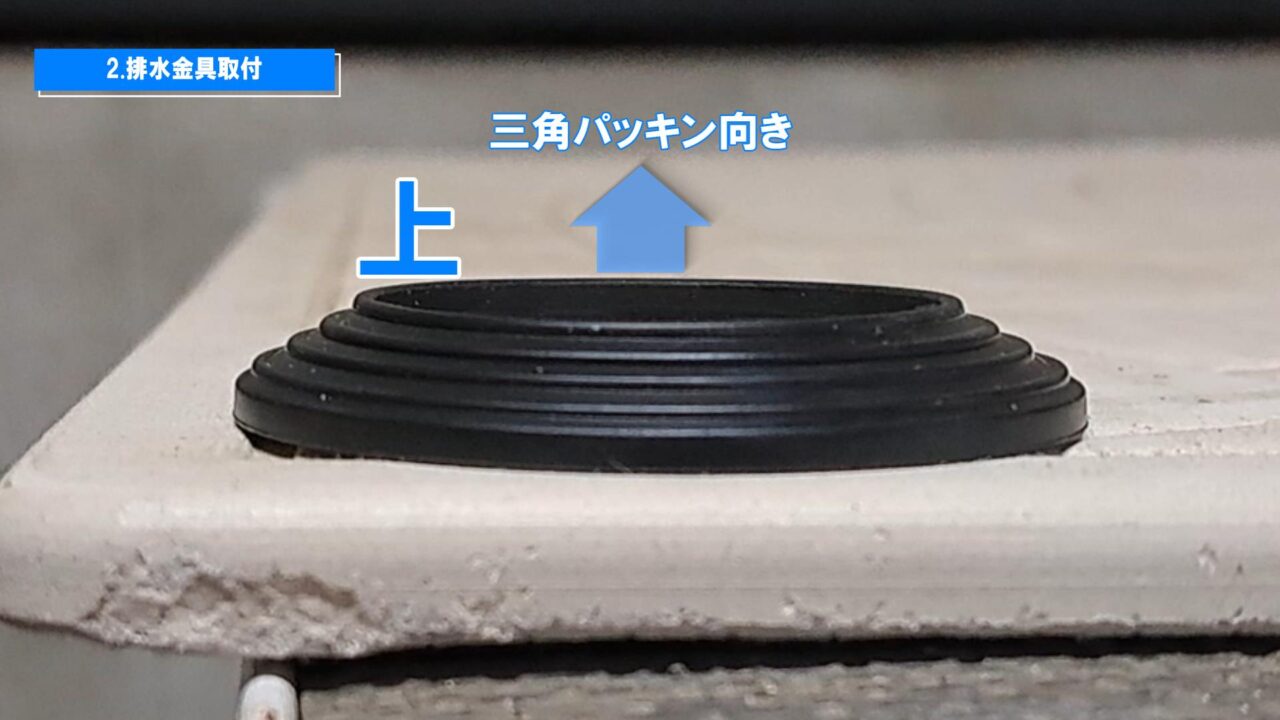
三角パッキンは向きがあります。三角の頂点を上にして取付します。逆向きに取付すると漏水します。
3.給排水穴加工
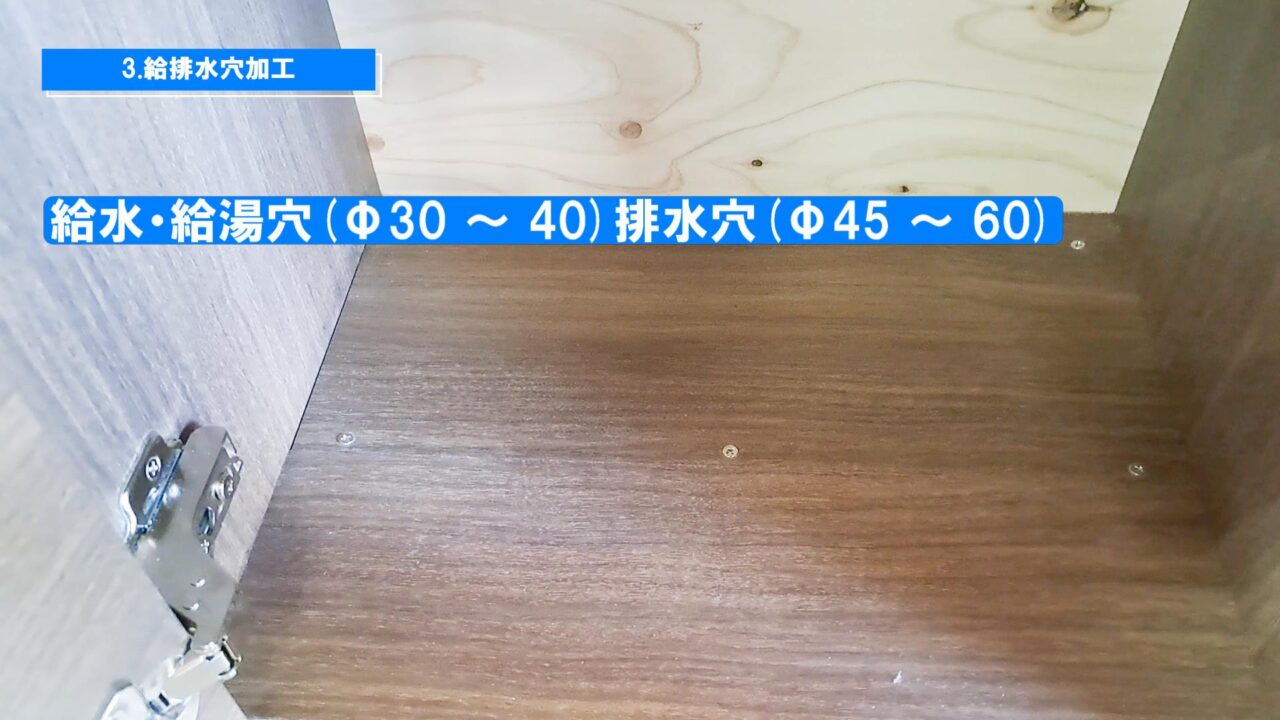
床給排水の場合はホルソーで穴を開けます。 穴径:給水・給湯穴(Φ30 ~ 40)、排水穴(Φ45 ~ 60) ※壁給排水の場合は背板がありませんので、穴加工は必要ありません。
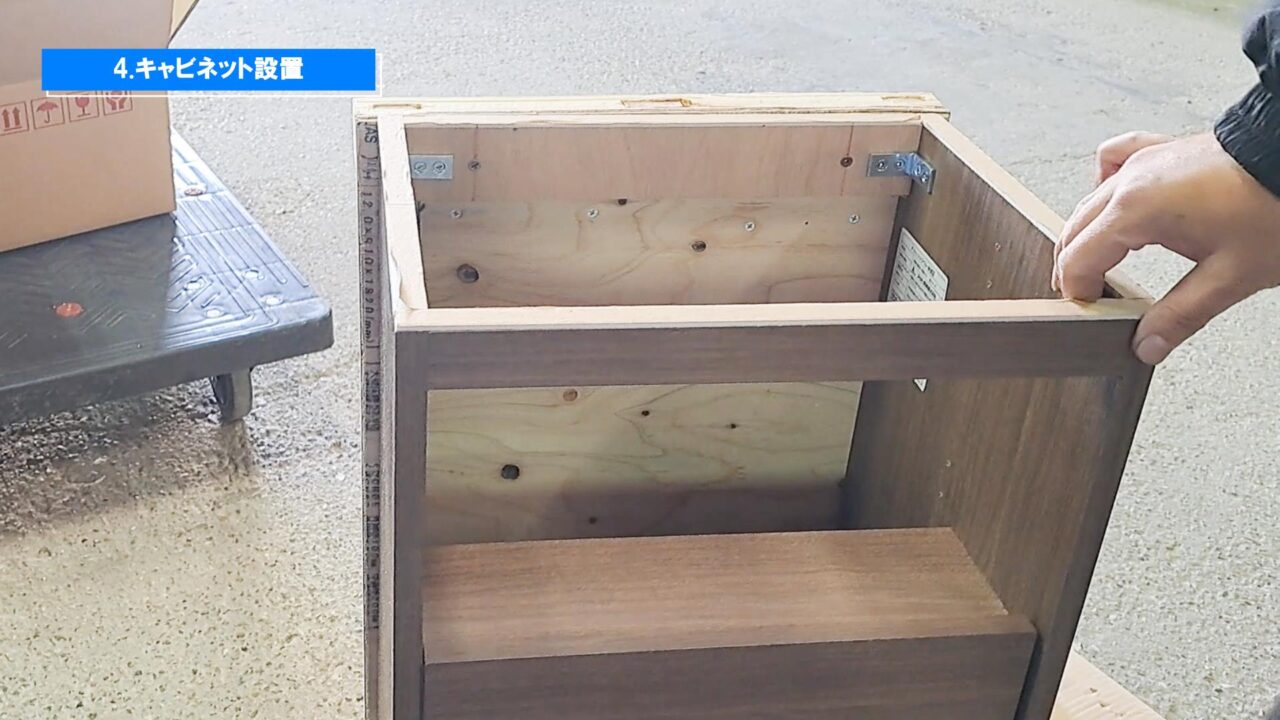
4.キャビネット設置
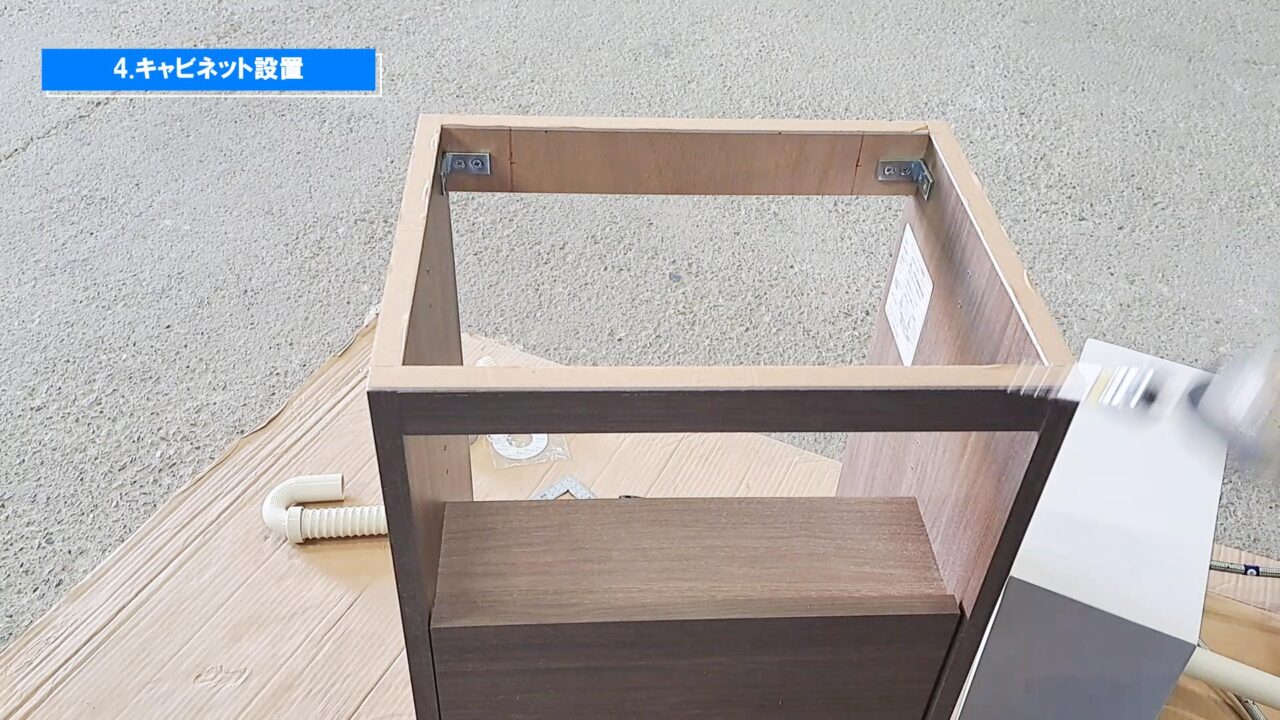
キャビネットをビスを使用して、壁面に固定します。
固定ビス取付手順
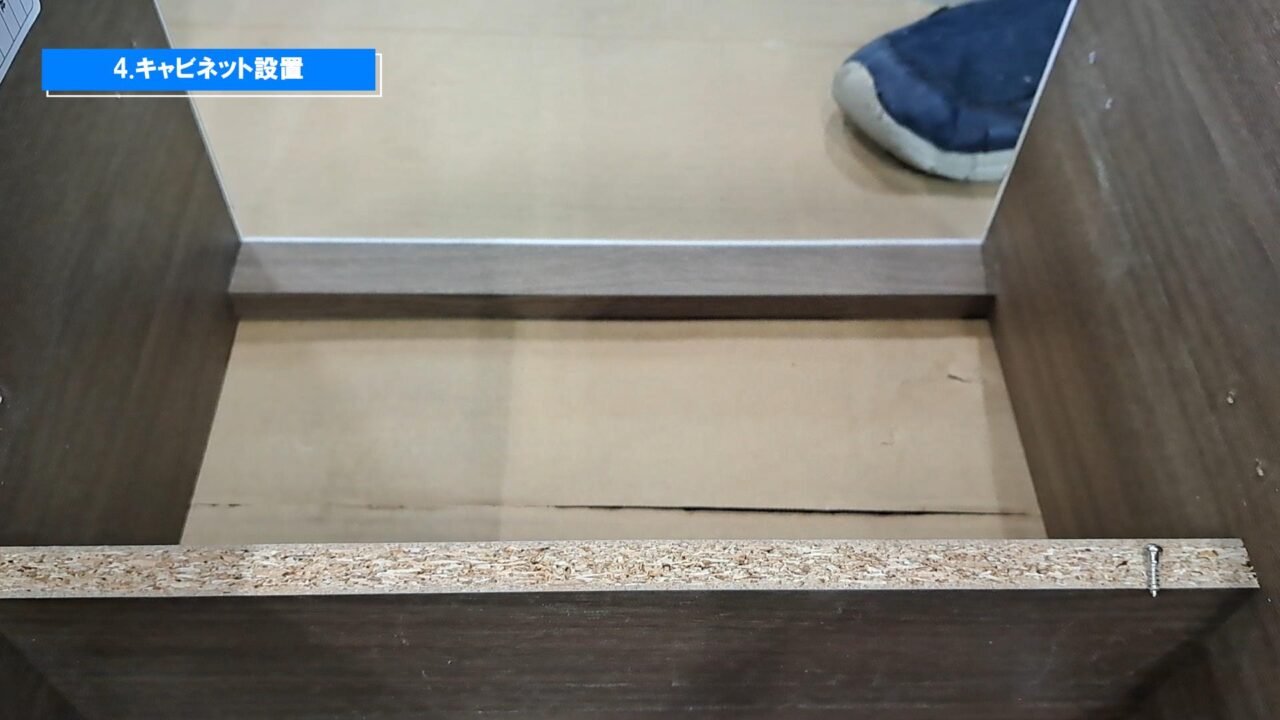
差し金を使用して指定位置に取付ビスの位置を罫書きます。
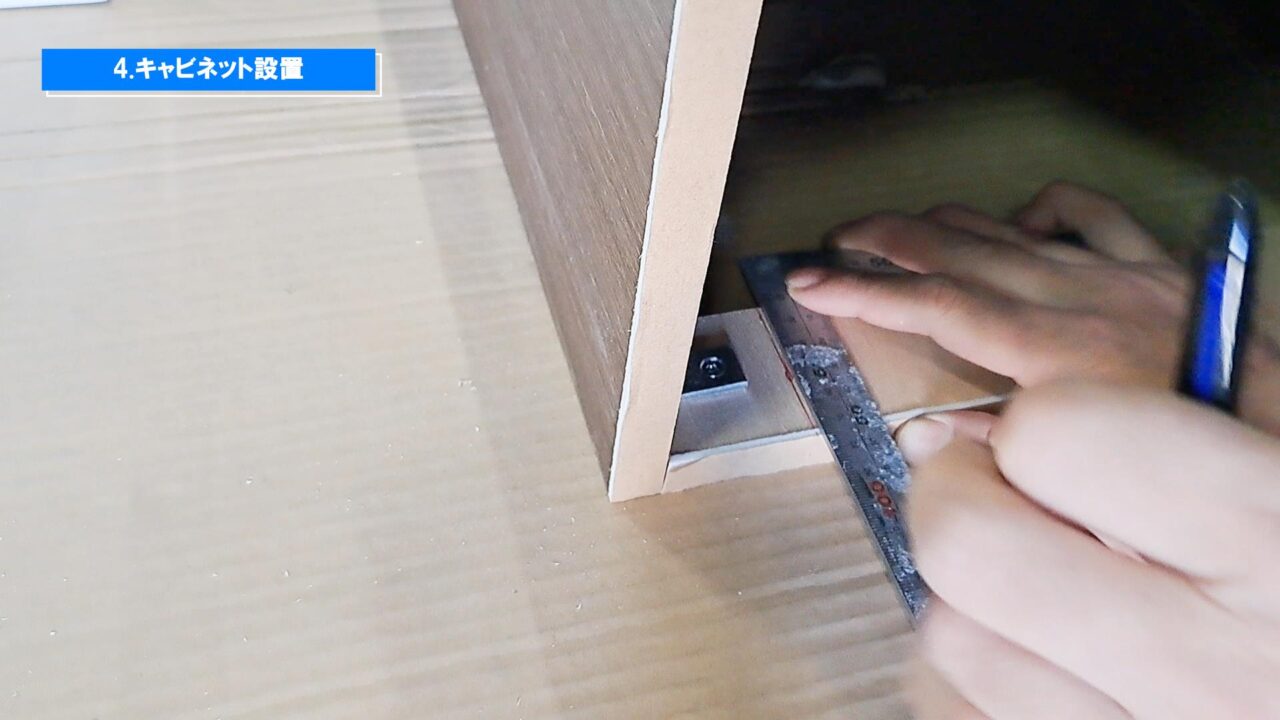
寸法はセンター振り分けの13cm。固定桟幅が5cmなので、中心2.5cmの位置に罫書をします。
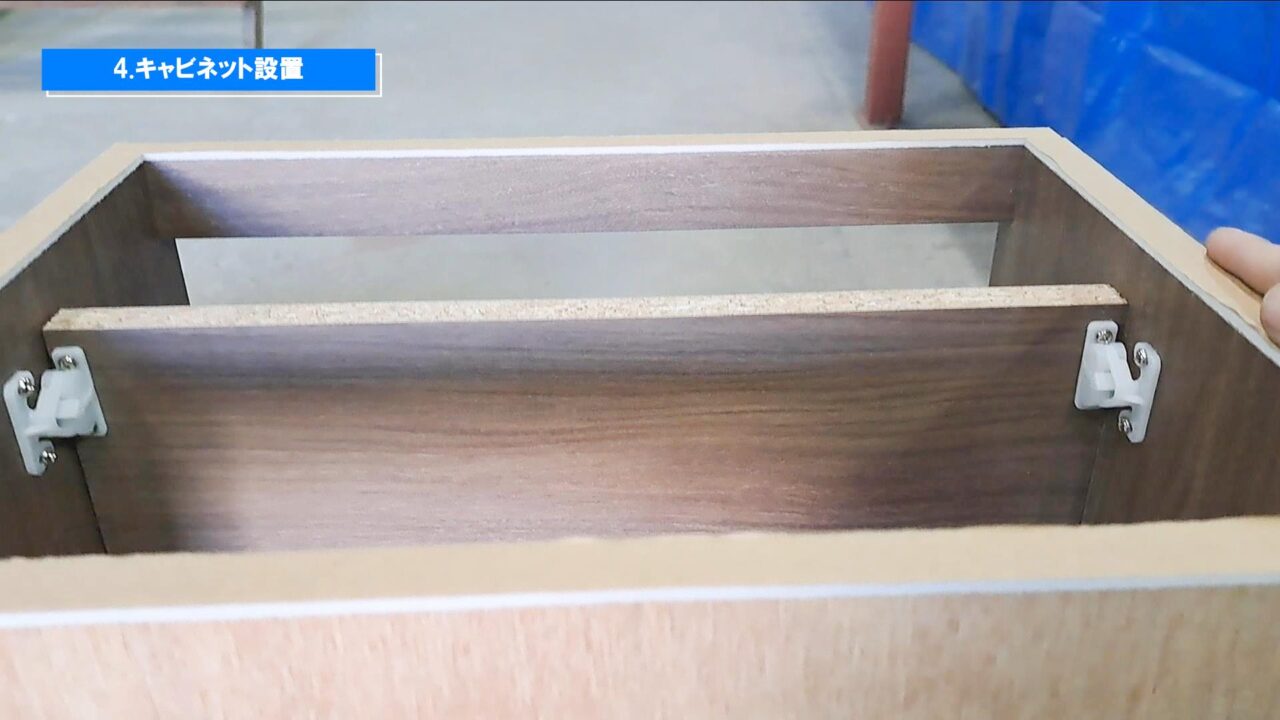
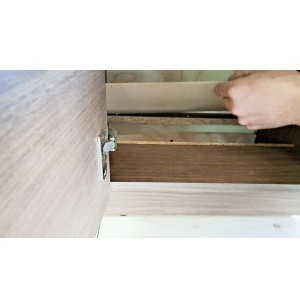
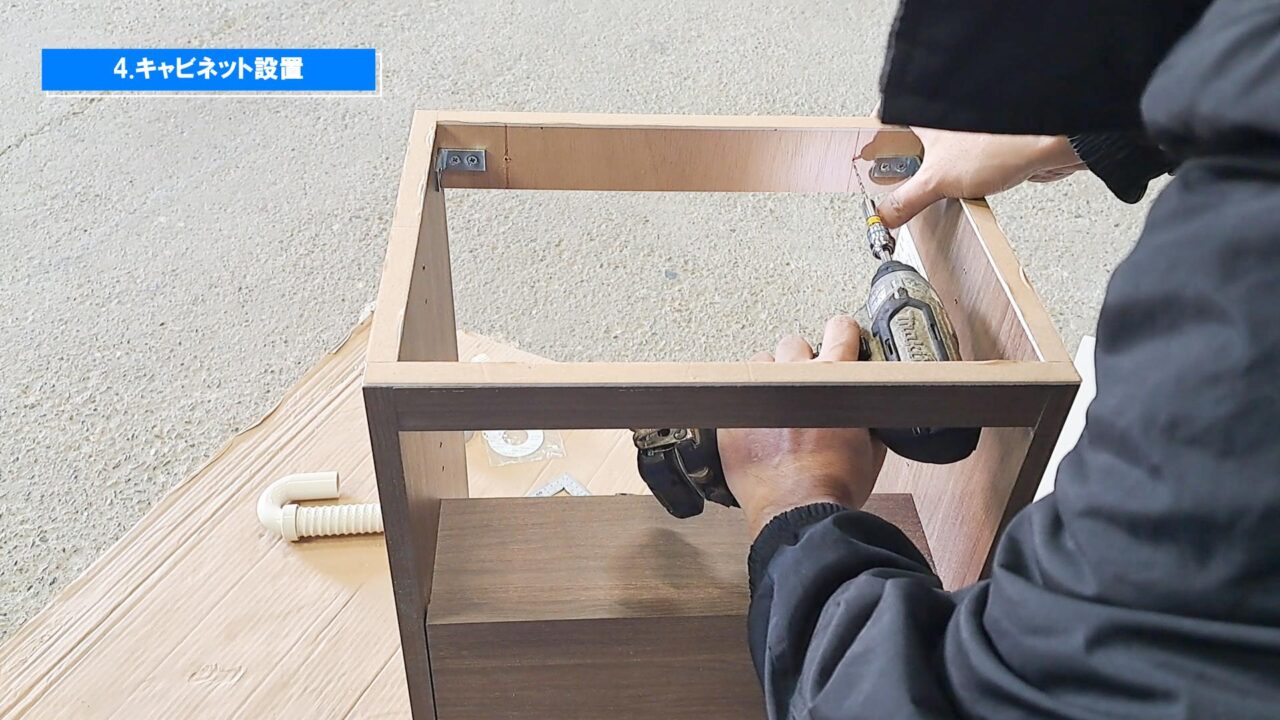
上段収納の背板が、邪魔で下穴を開けれませんでした。そのままでも、出来ると思いますが、外した方が作業しやすいです。
ビス止めされているだけなので、背板を外します。
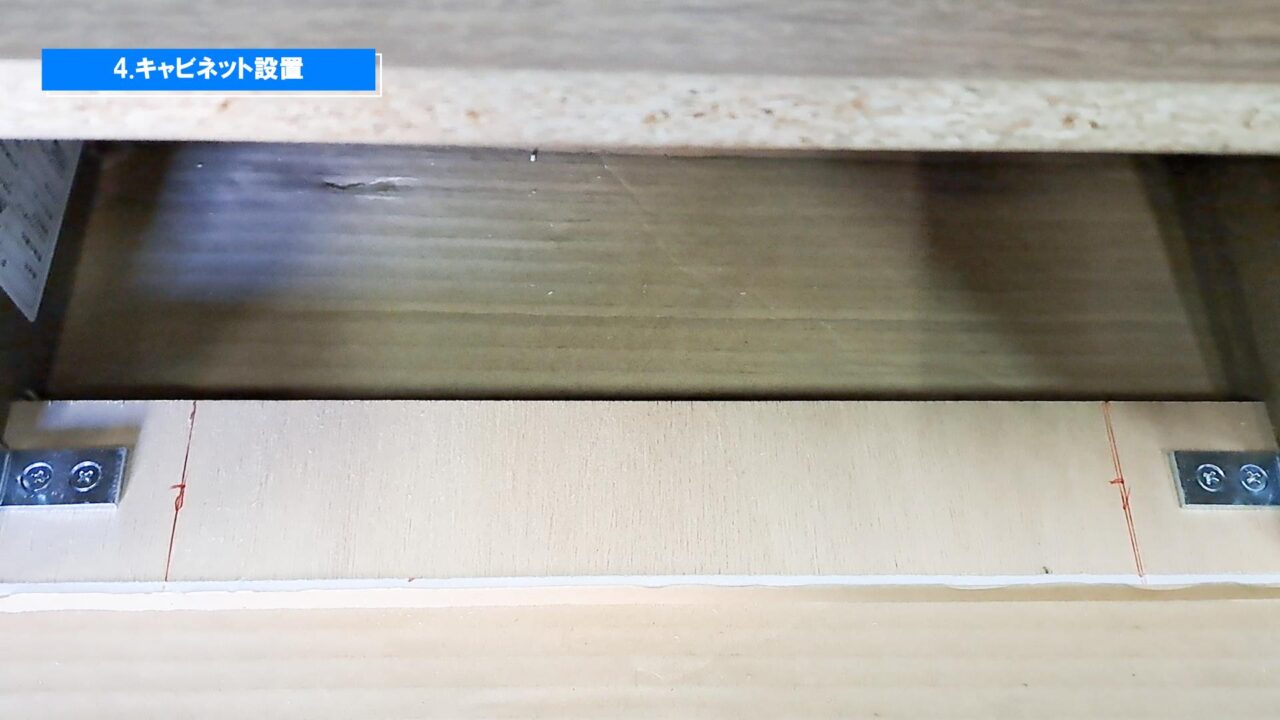
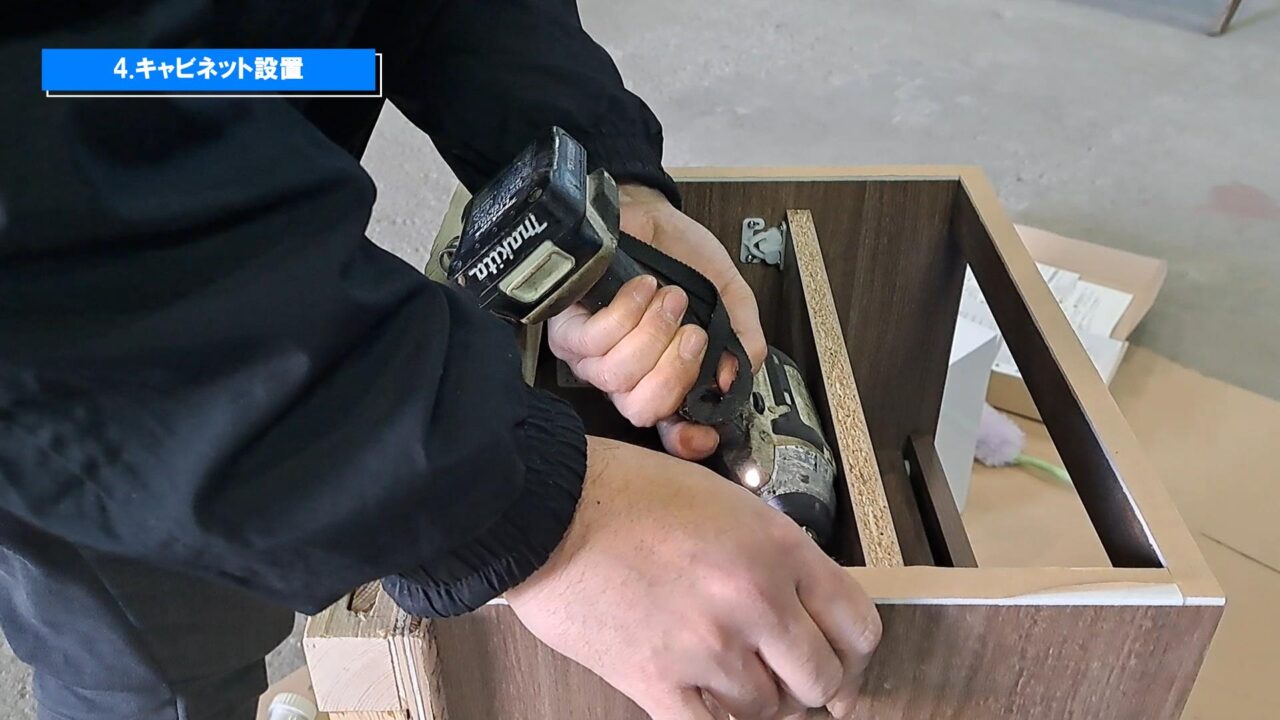
下穴錐で下穴を開けます。
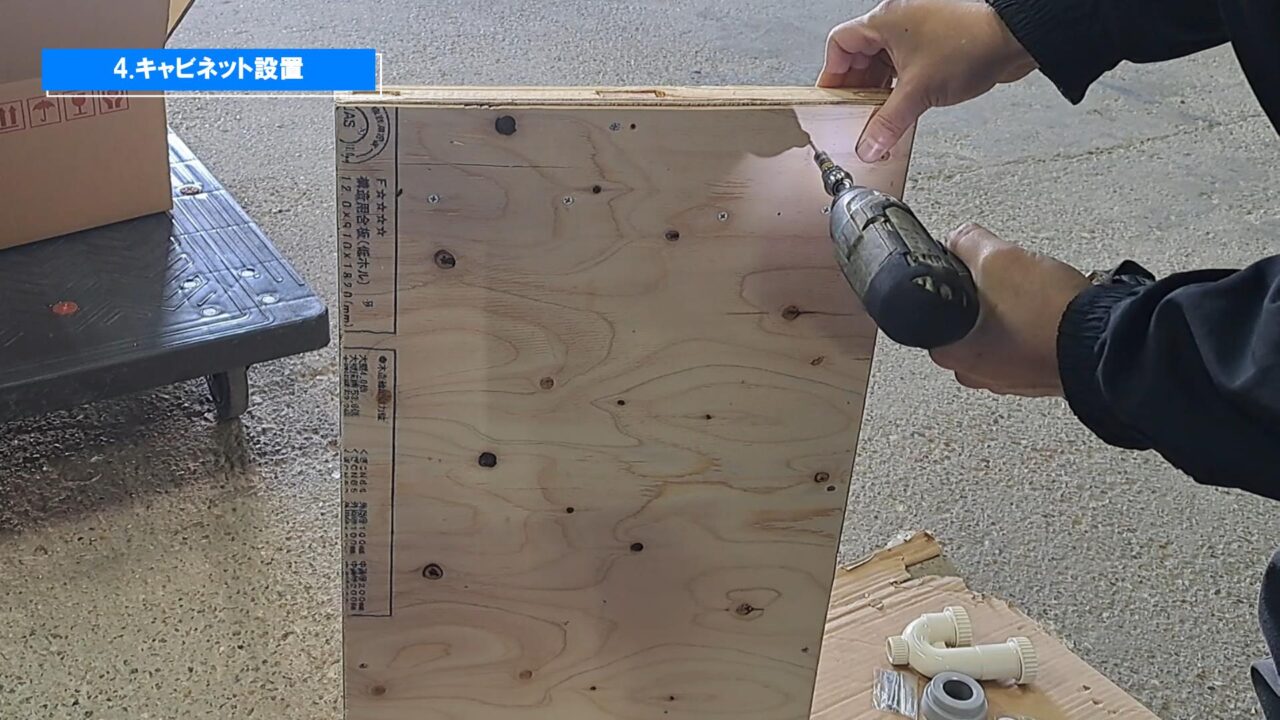
壁側にも下穴錐で下穴を開けます。
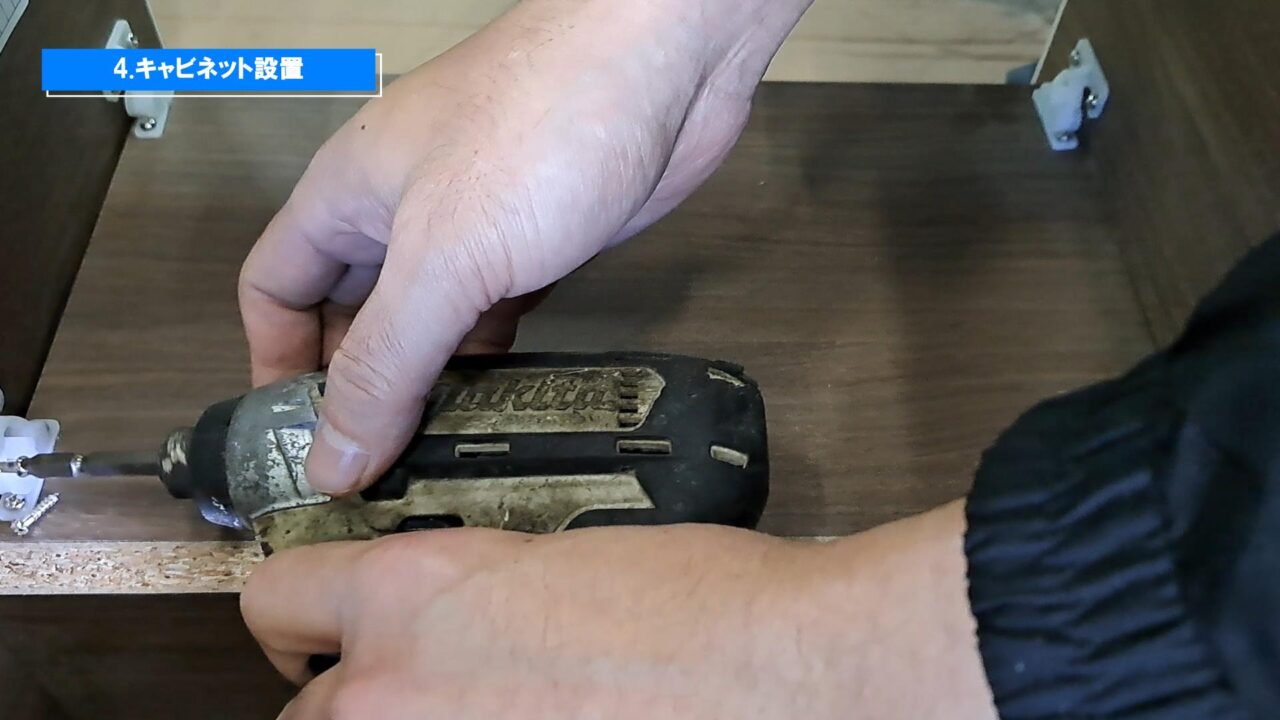
下穴を開けた箇所にインパクトドライバーで、ビスで固定します。
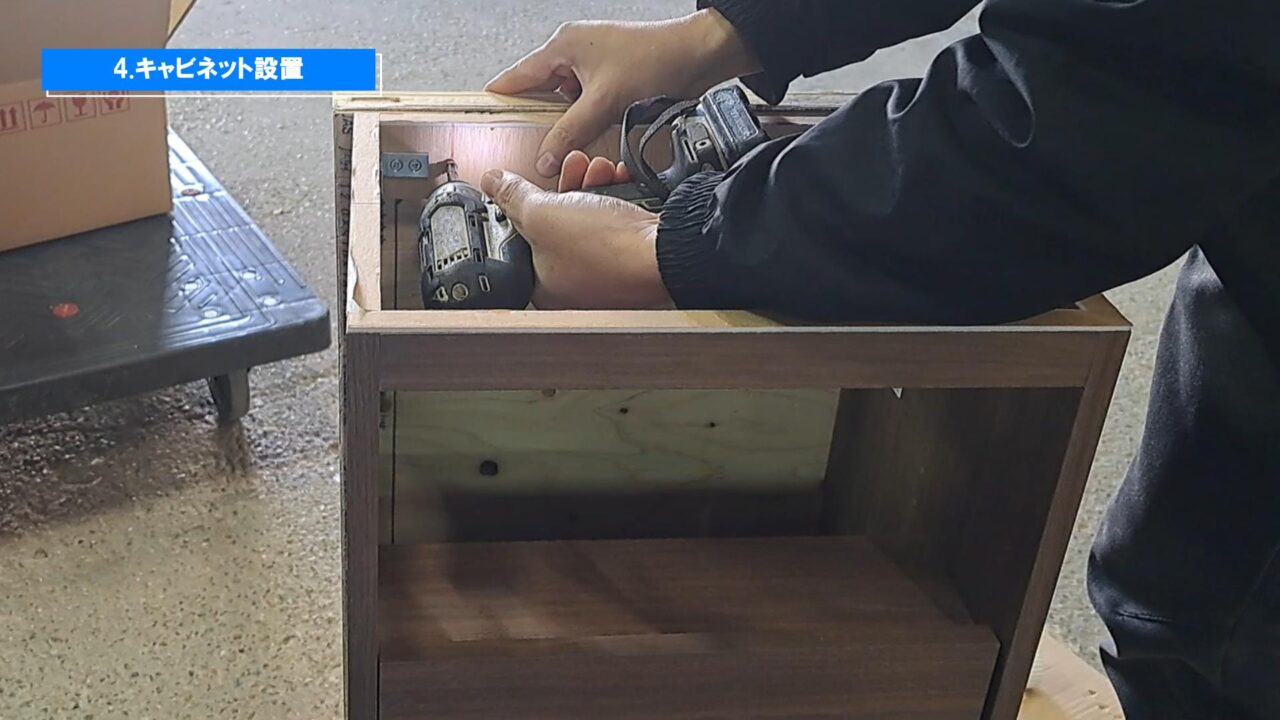
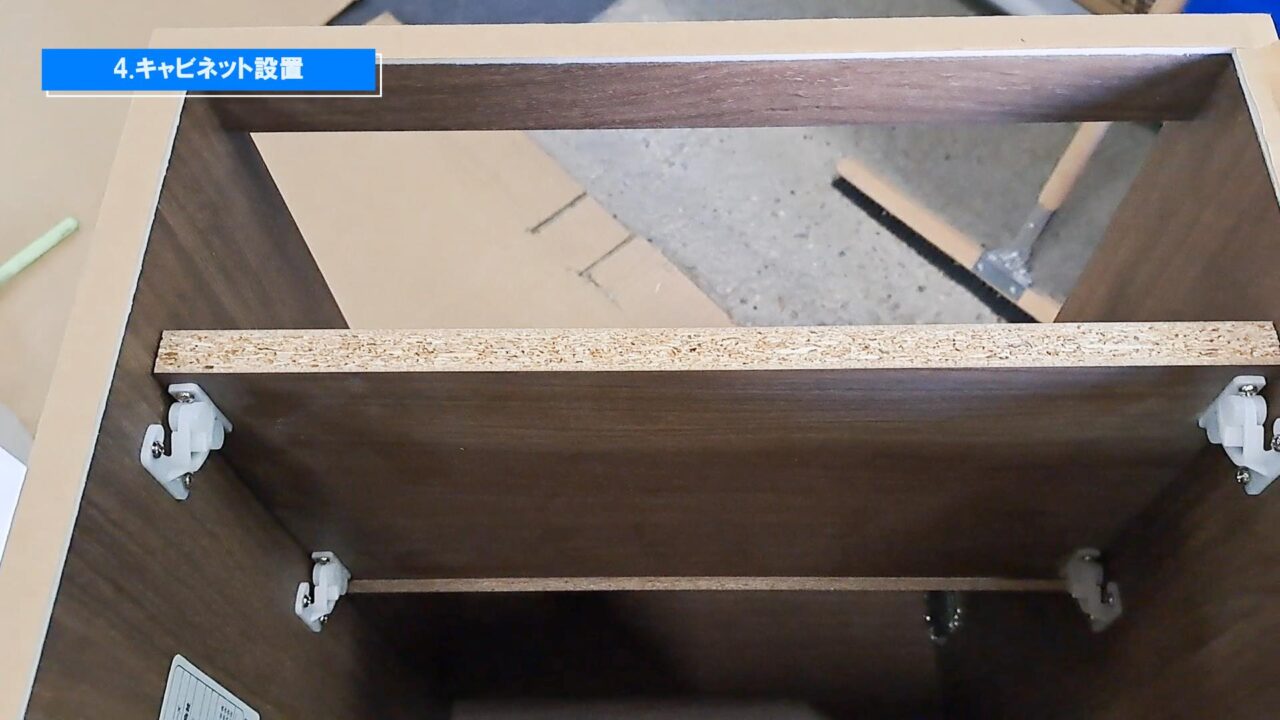
固定出来ましたので、上段収納の背板を戻します。
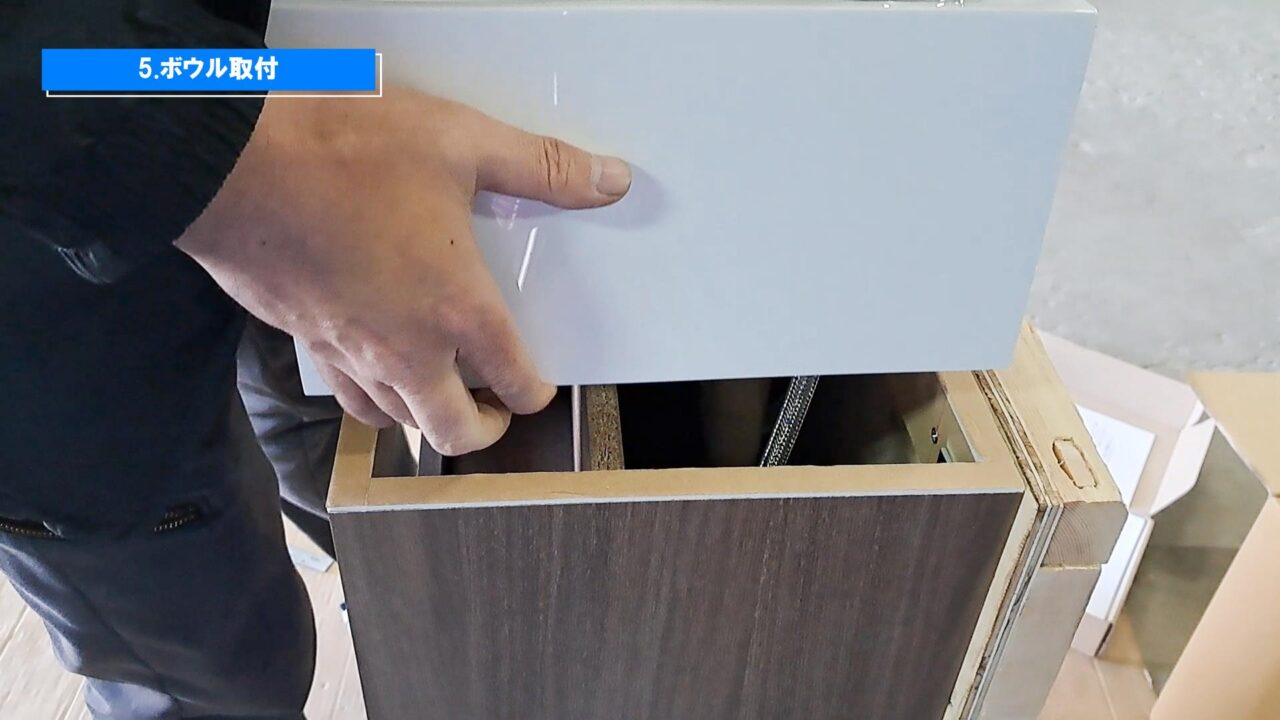
5.ボウル取付
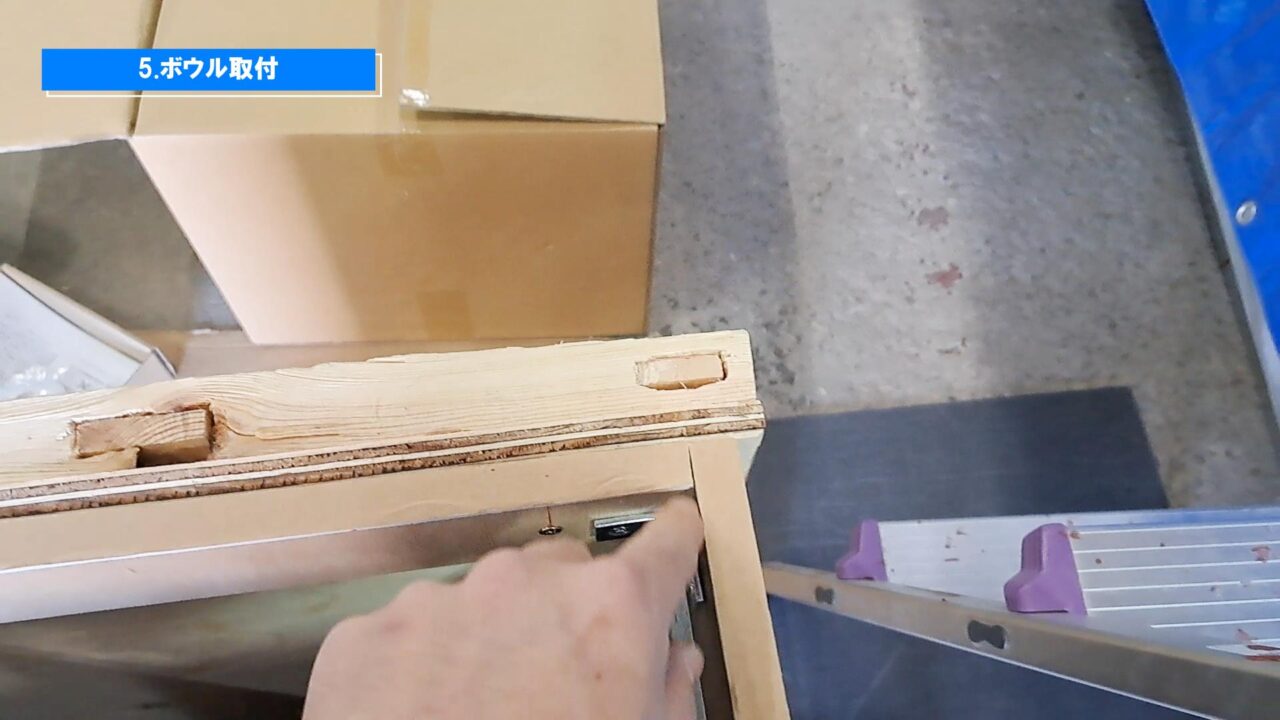
ボウルを取付します。キャビネットにある、はくり紙を剥がしてボウルを固定します。
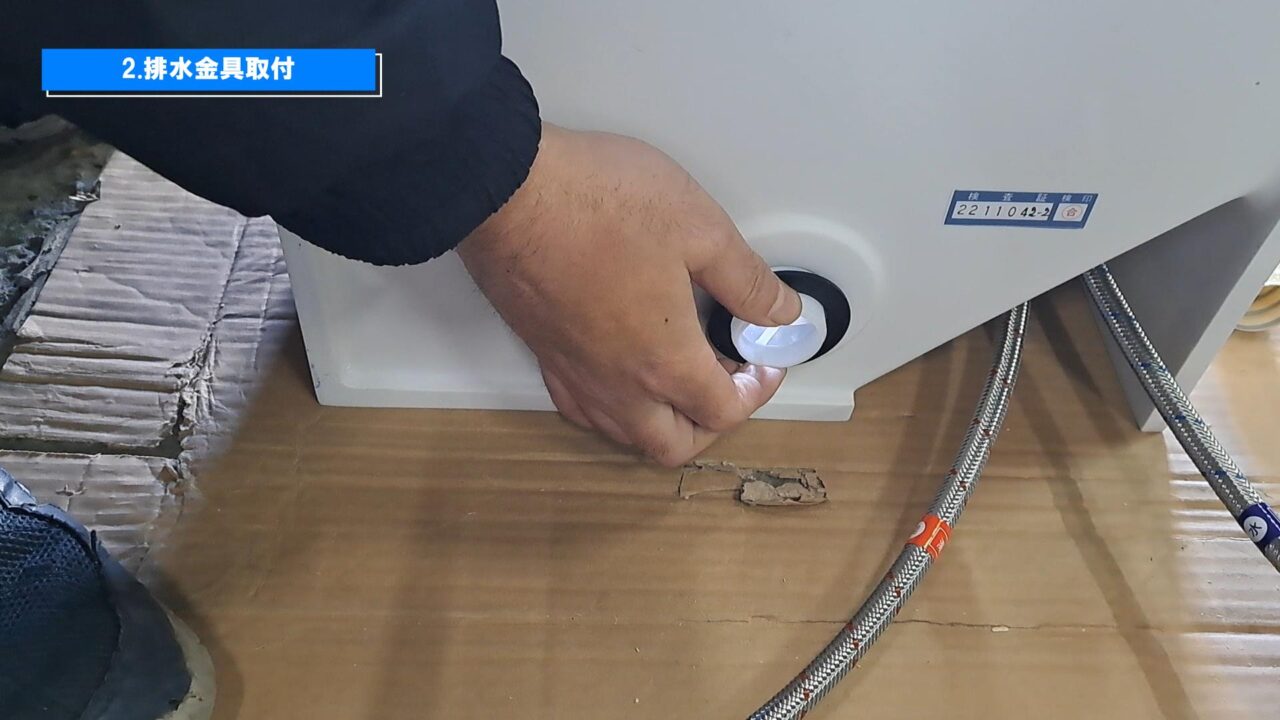
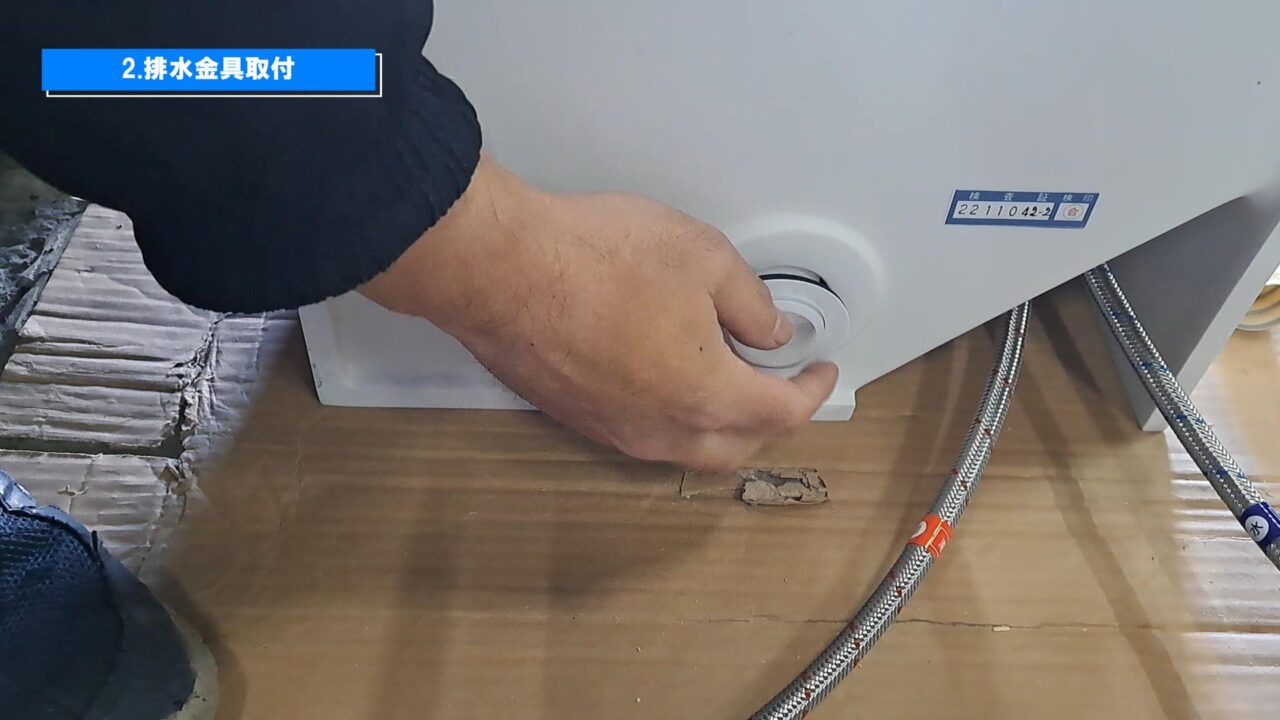
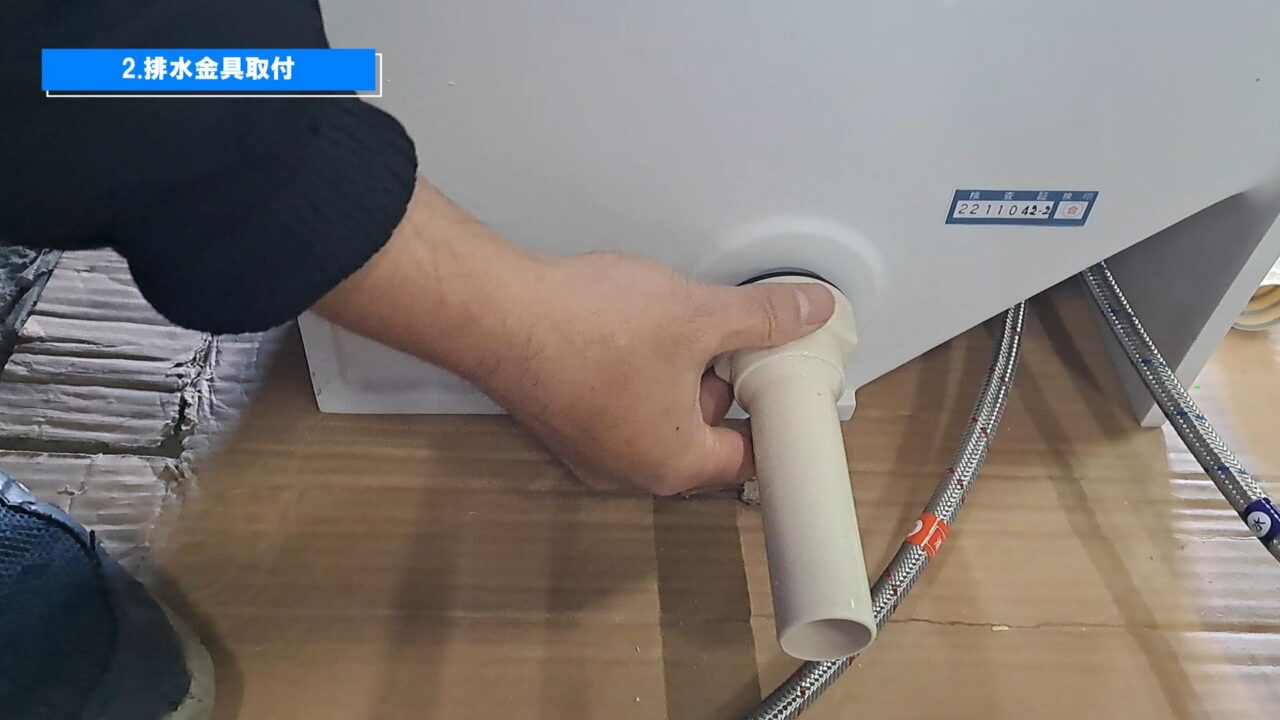
7.排水金具取付
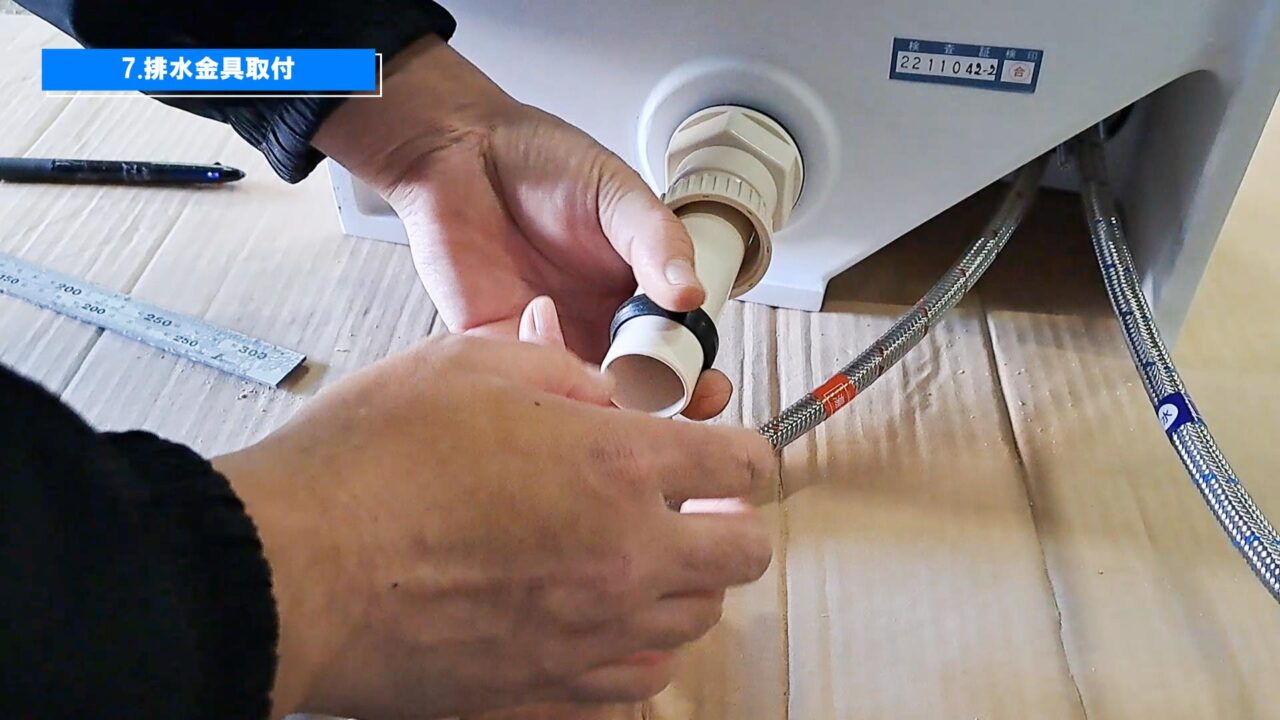
排水金具を取付します。
※ナットの締め付けは手締めで取付て下さい。工具を使用すると破損するおそれがあります。
8.扉調整
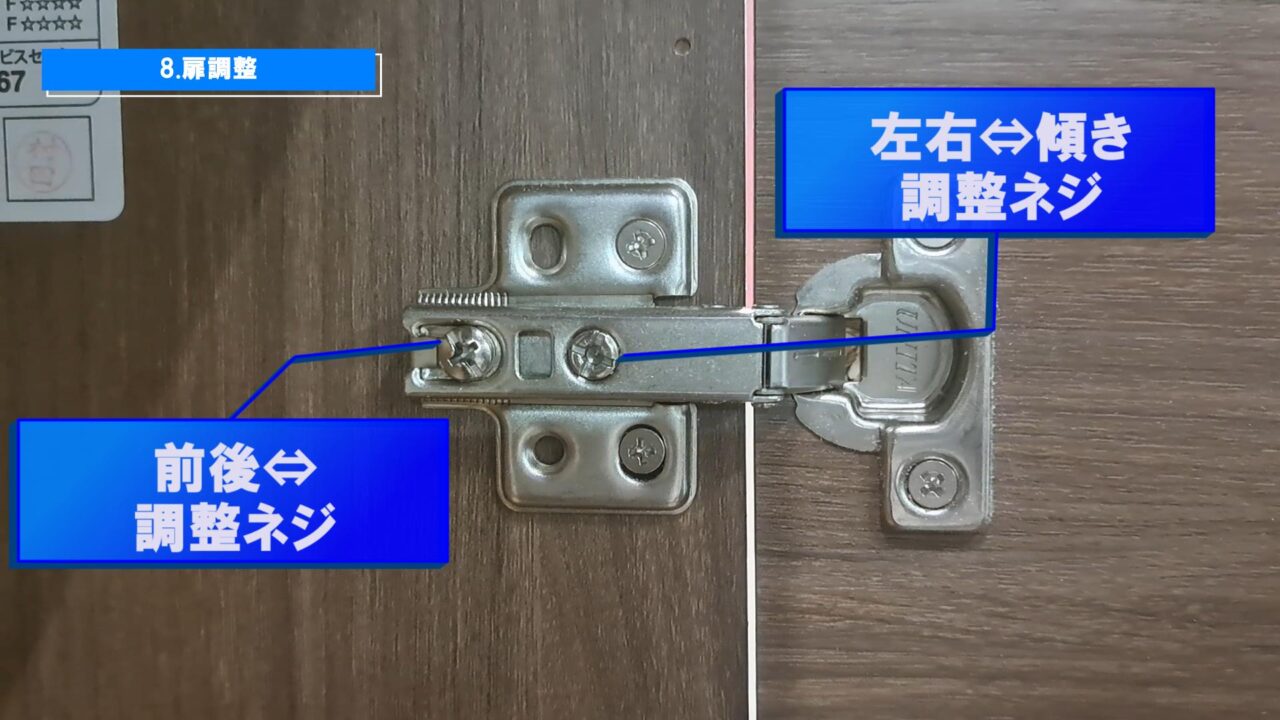
扉の左右の傾き・前後の調整は各ネジで調整が出来ます。
後は動作と漏水のチェックをして完成です。
Youtubeにて「コンパクト手洗器」について紹介をしております。
コンパクト手洗器まとめ
| 特長まとめ |
|---|
| 1.限られたスペースでも設置出来る!幅40×奥行22.4cmのコンパクトサイズ。 |
2.扉カラーは木目柄で、キャビネット側面・内側も木目でこだわったデザイン。  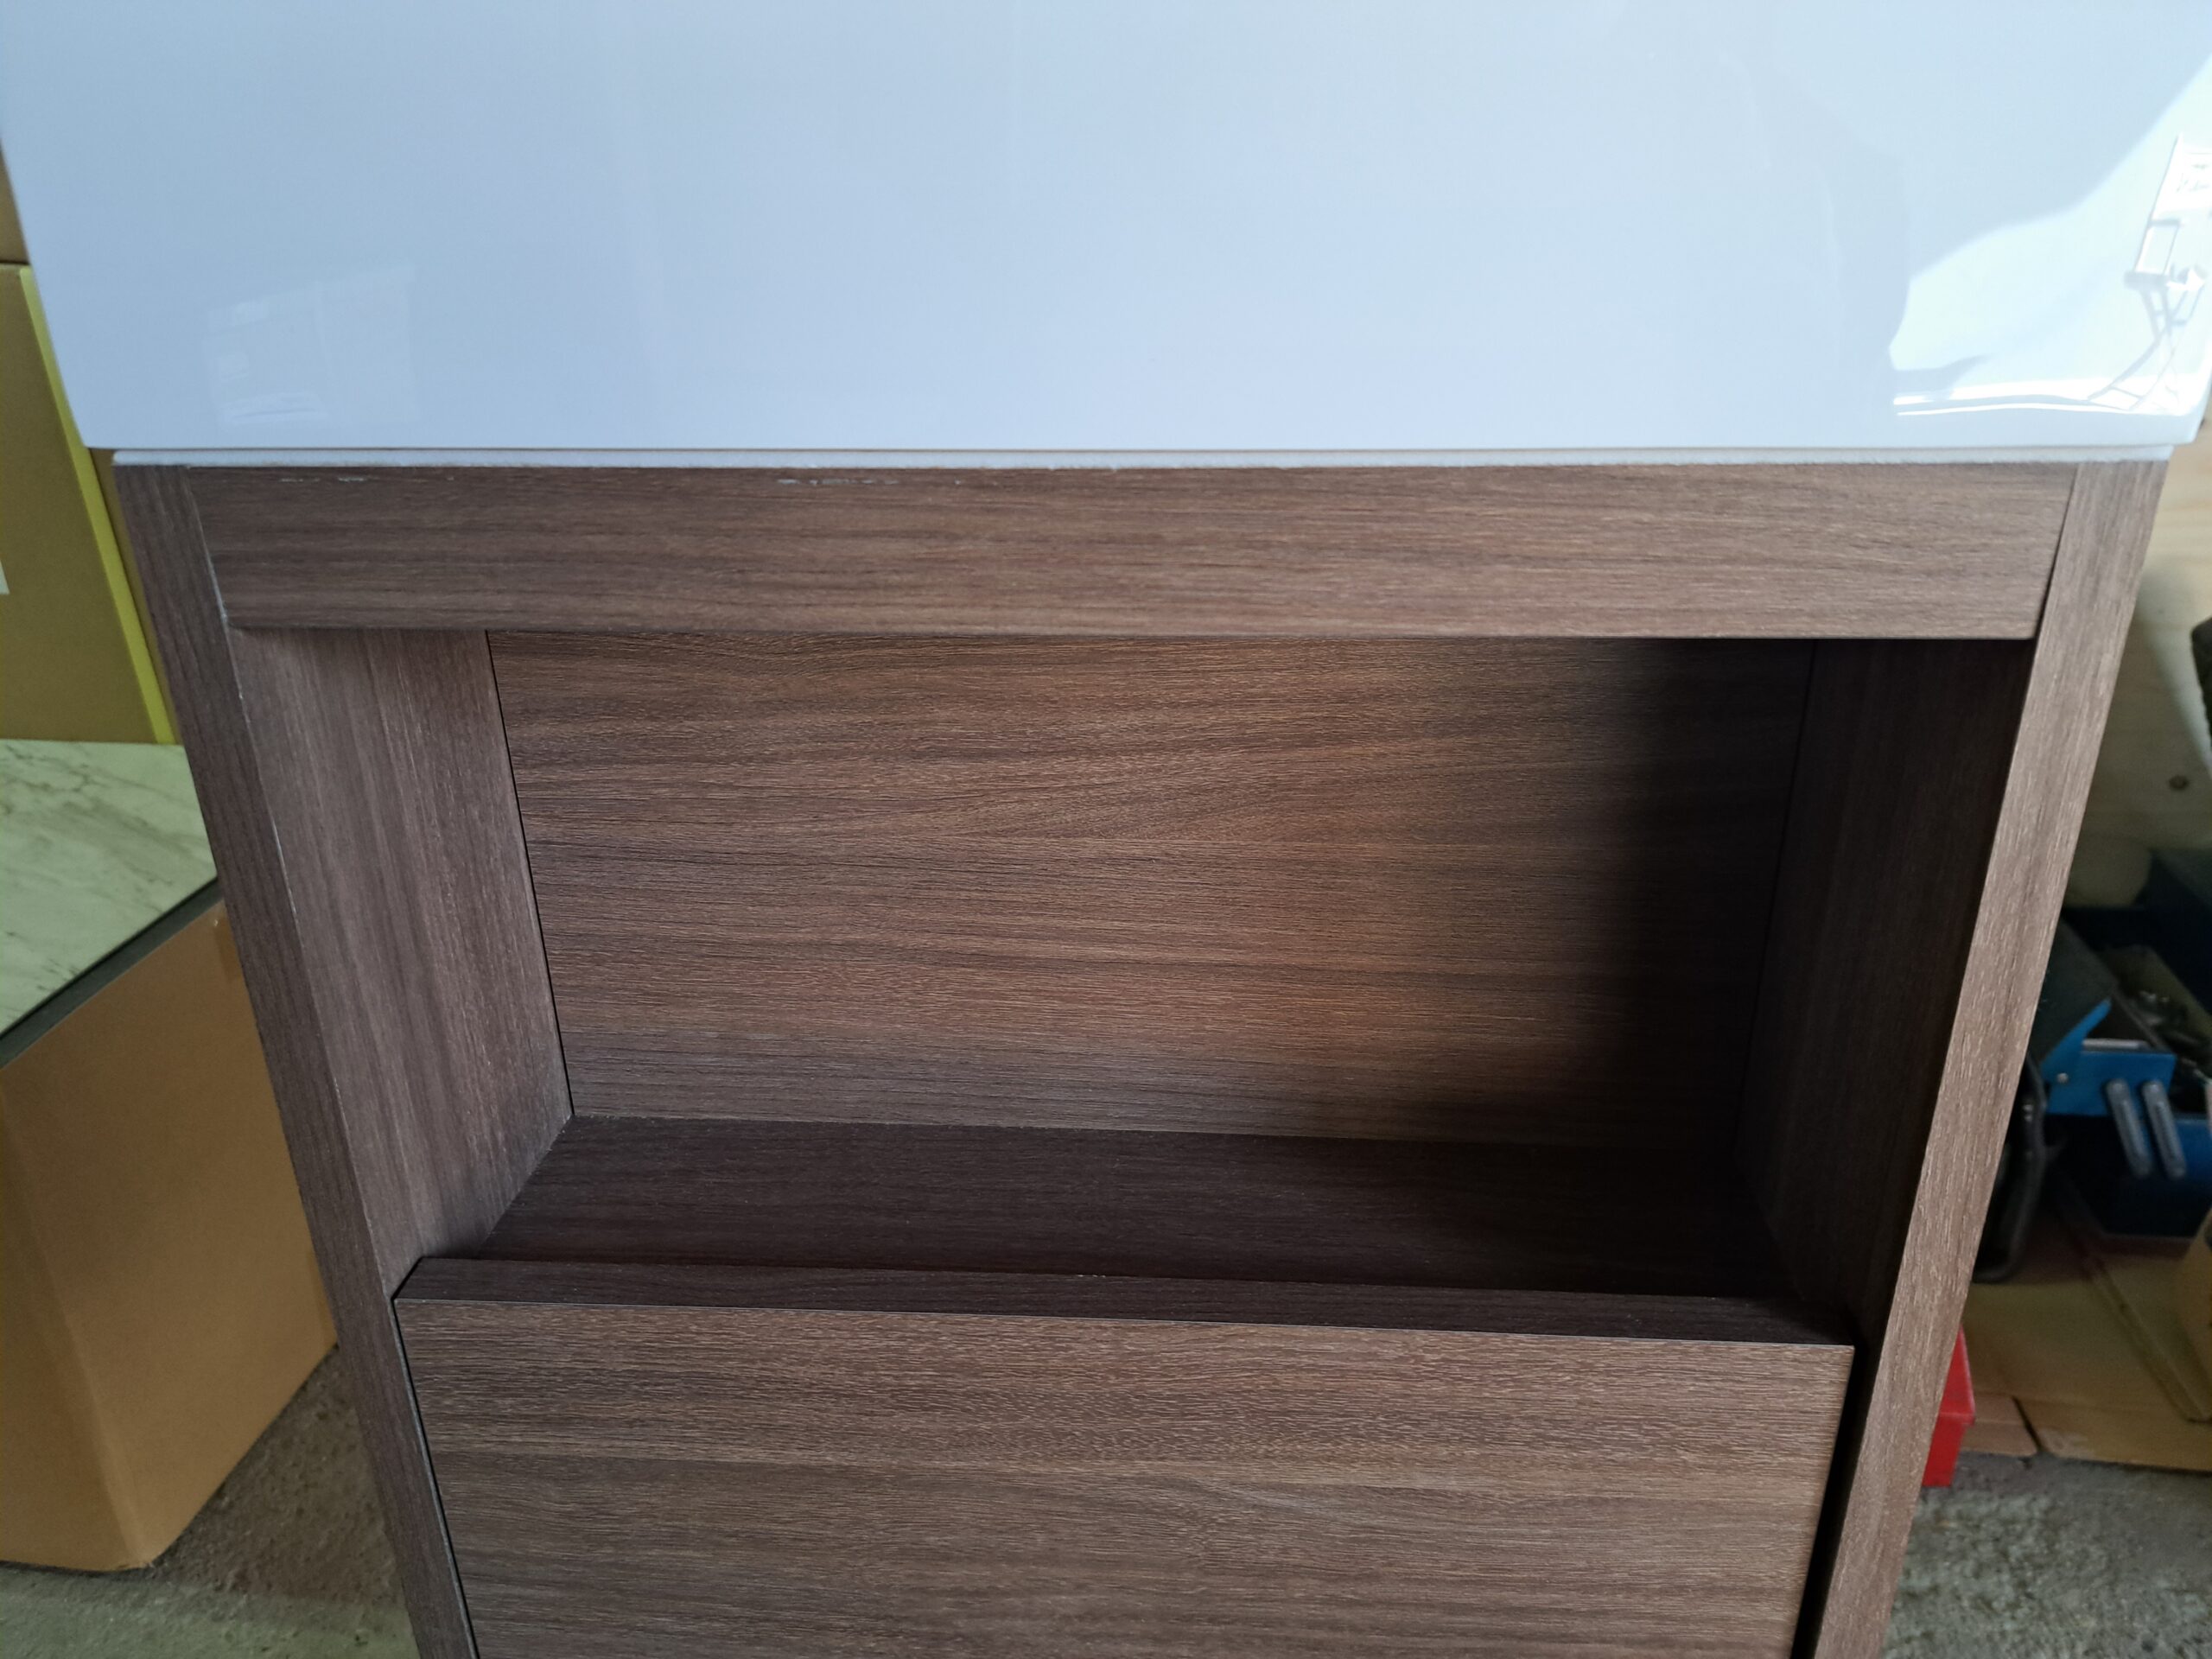 |
3.奥行29cmのコンパクトサイズだが、手洗いしやすい設計&小さいバケツなら、水を汲む事が出来る手洗いボウル。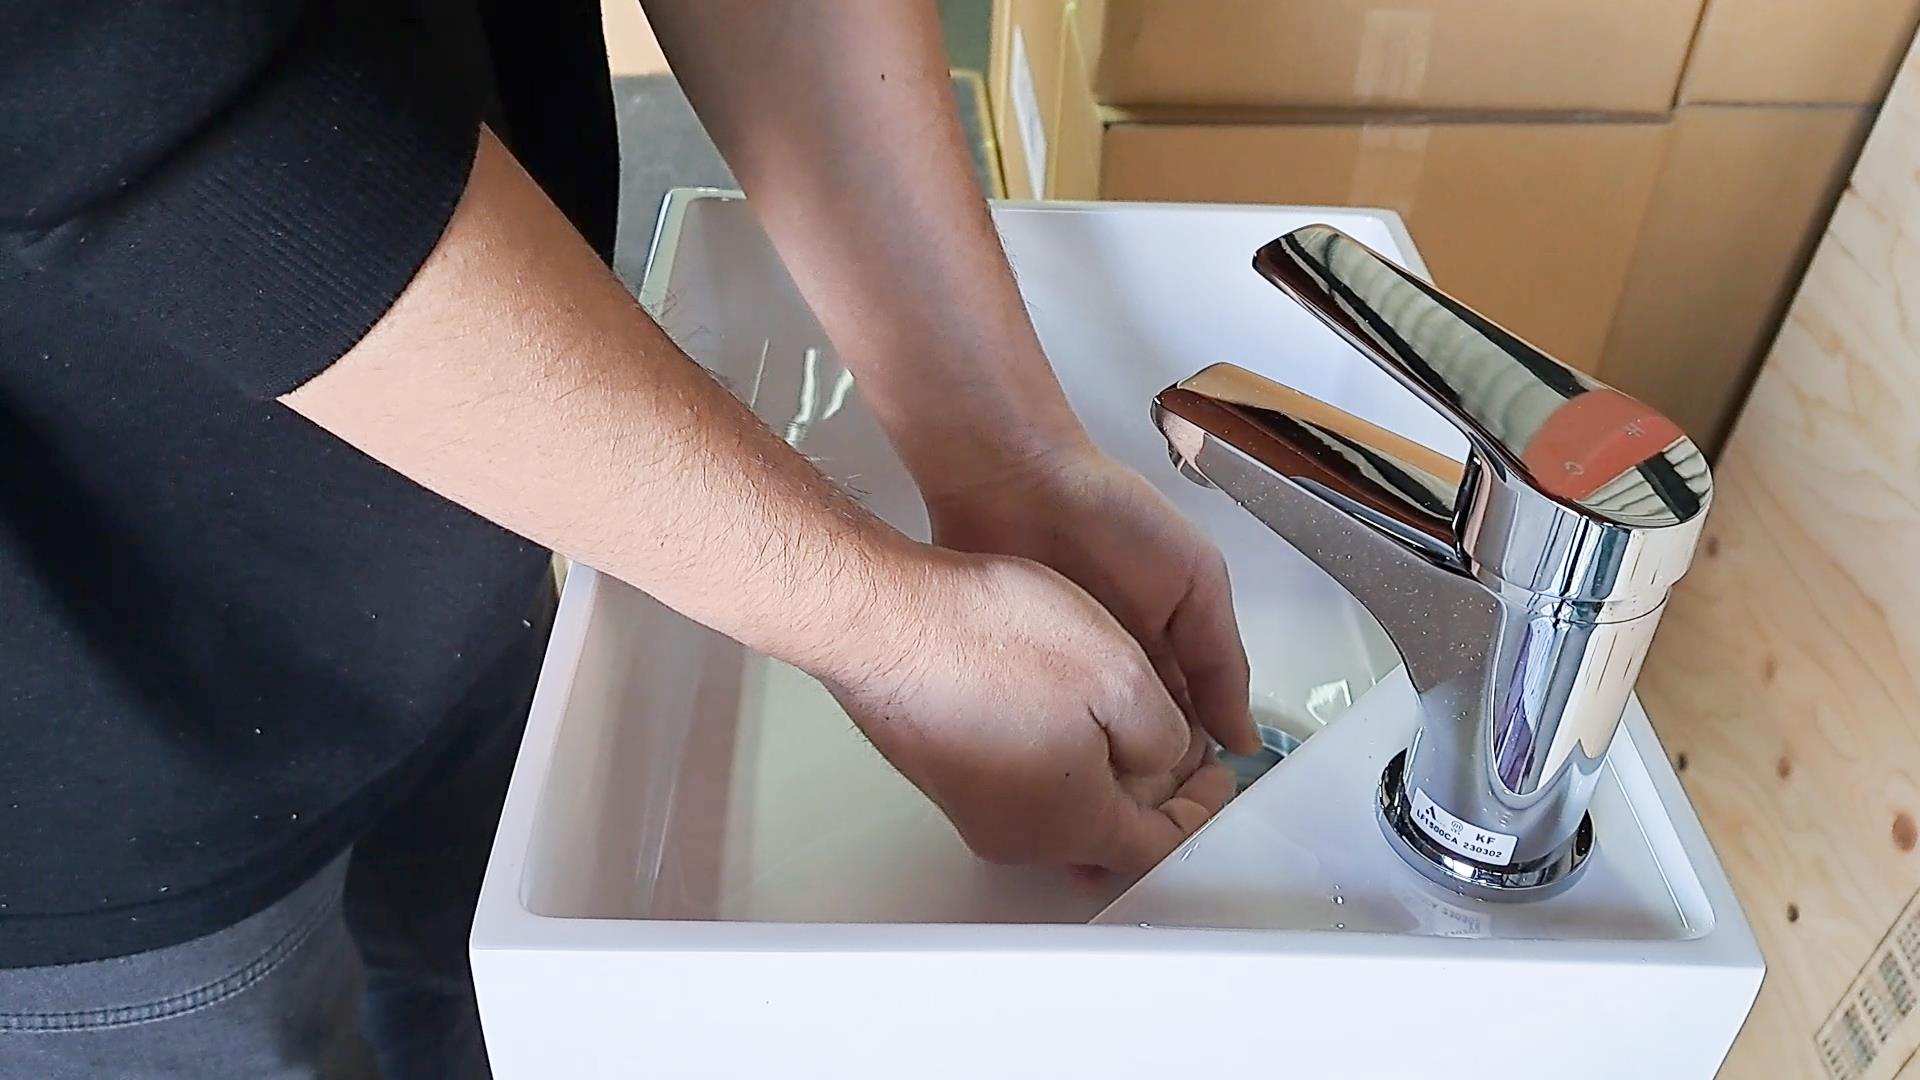 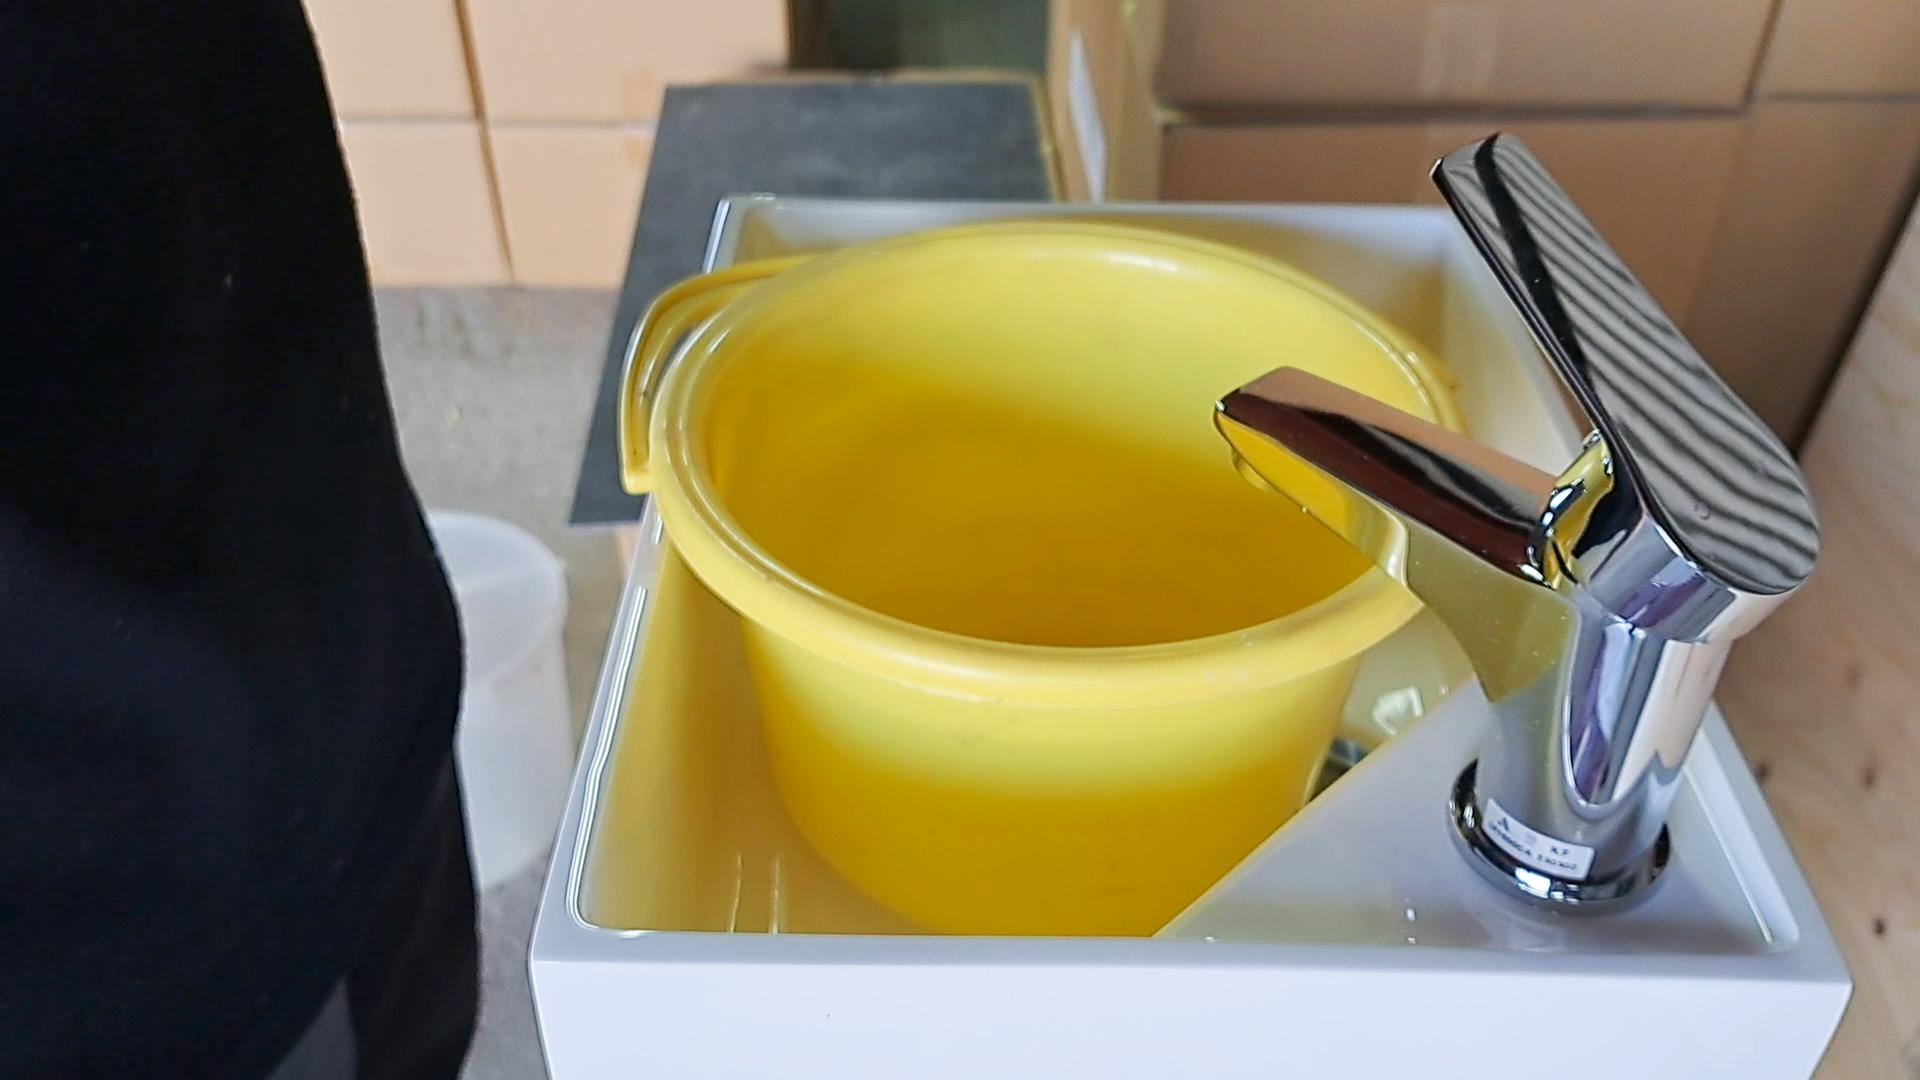 |
| 4.以外に収納出来る!?上下2段収納のキャビネット。 |
| 5.給排水時に便利な底板点検口。 |
2階・階段横・トイレや玄関などの手洗いにおススメ洗面台です。
このコンパクト手洗器が通常、納期1週間以上かかる所、台数限定で即日出荷可能です。また、展示していますので実物を見て頂けます。
コンパクト手洗器が気になった方は、下記リンクをチェックお願いします。
"

コメント